The Jeep Cherokee (XJ) was made from 1984–2001, and there have been tons of lift kits on the market during those 18 model years. So when it came time to choose a Jeep Cherokee Lift for Cranky, our Jeep Cherokee project, I decided to look to a company that had plenty of experience lifting Jeeps.
Skyjacker has been around since the 1970s, and is one of the best known names in the off-road business. They offer comprehensive kits, individual components, and a host of accessories to outfit a host of Jeeps as well as many other trucks and SUVs.
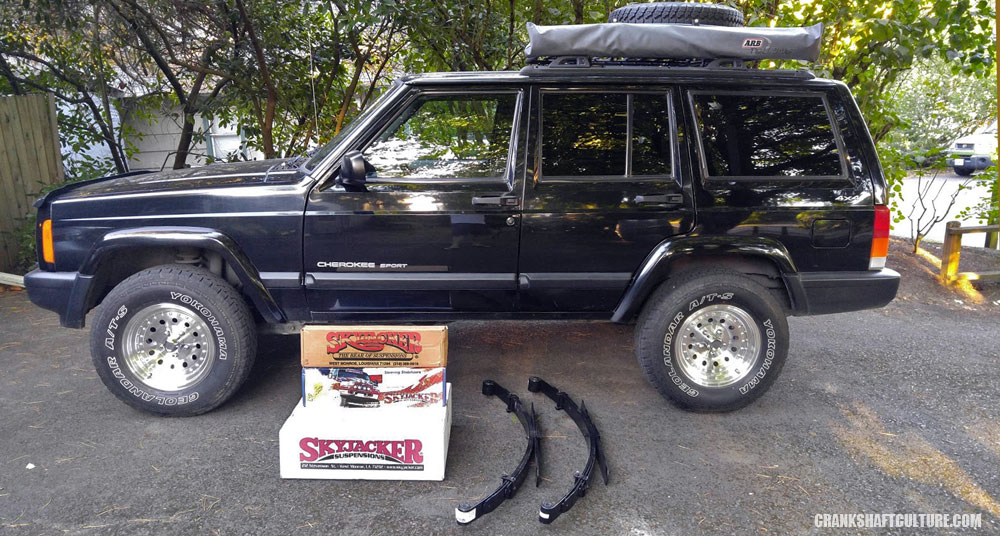
Since I wanted to run 31″ tires, I decided to go with a mild 3″ lift. The Skyjacker kit I got included new coil springs up front, new leaf springs out back, four of their new Black Max shock absorbers, and a Black Max steering stabilizer. I also got a set of their lower control arms to round things off.
The installation is straight forward. Well, straightforward for anyone who’s worked on Jeeps with solid front and rear axles before, which did not include my wife, Mercedes, and me. We quickly found out that the XJ is a amalgam of metric, standard, and torx bolts with a wide range of sizes. For reference, I can disassemble my entire Suzuki Sidekick with about three wrenches. With the Cherokee, you need all the wrenches—all of them. Luckily, Skyjacker’s instructions are straightforward and easy to follow. That, however, didn’t mean Cranky was going to cooperate with the build. What else is new …
rear springs and shocks
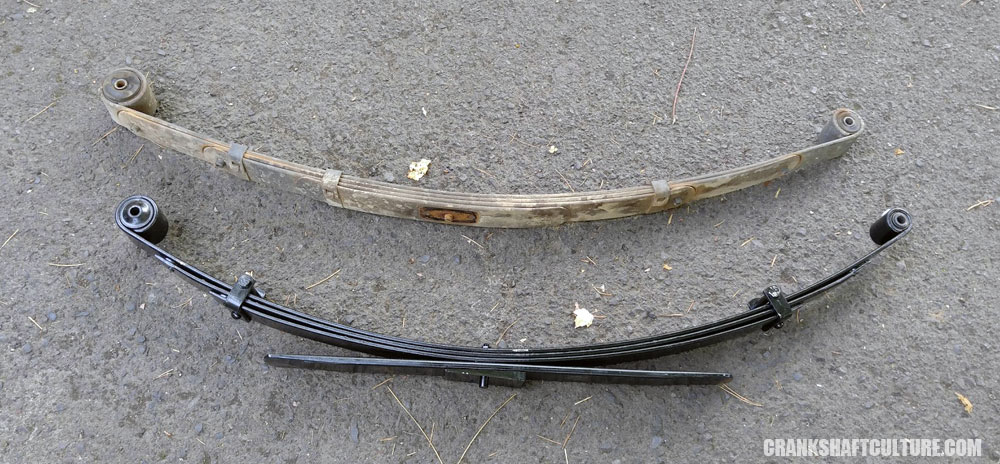
With our friend Scott’s help, we removed the stock leaf springs and shocks—easy peasy. We needed to slightly modify the spring perch on our rear axle to accommodate the locator pins on the new rear springs. And since I had installed a new trailer hitch, it was impossible to remove some of the OEM bolts at the back. It was easier to remove the rear spring shackles instead of the bolt in the leafspring itself. Due to our inexperience, however, I think we installed, removed, and reinstalled the springs about three times before we figured out how to put everything together. (Did I mention this was my first vehicle with leaf springs?) With a bit of finesse, muscle, and a big rubber mallet, we got things done.
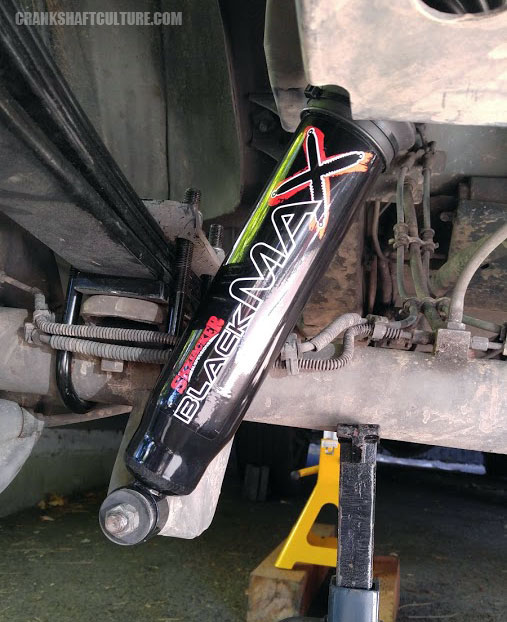
The Black Max shocks went on effortlessly, despite my fear that the weld nuts on the chassis may snap. They didn’t. One other thing: I will need longer rear brake lines, as once this articulates on the trail, the stock brake lines may be too short and could be damaged. I’m told rear Jeep Wrangler YJ (1987-1995) brake hoses will do the trick.
PRO TIP: A cordless impact driver will speed up the installation process exponentially. I recently bought a Milwaukee M12 and love it to death.
front suspension: Pt. 1
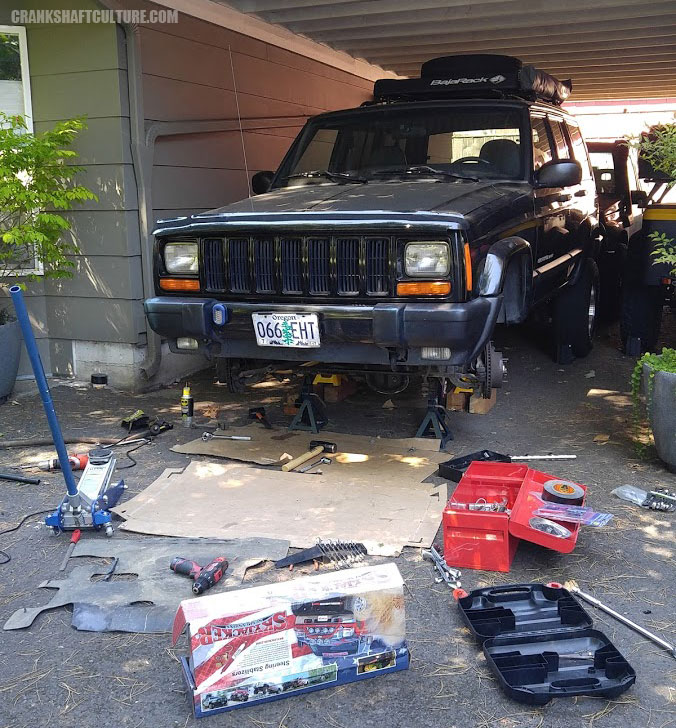 Since we burned the entire day fumbling through the rear springs, we started the front suspension the next day. This would be yet another new experience, as I’d never lifted a truck with a solid front axle. I was not familiar with things such as drag links, track bars, and steering stabilizers. All of my vehicles have always had independent front suspension systems (IFS). I knew this would be a great learning experience. That is me being positive.
Taking out the old parts was, again, very simple. Shocks came right out (after removing the stock airbox), lower control arms popped right off, and the springs came out lickety split. Ah, the joys of owning a west coast car that hasn’t corroded. We also disconnected the stock track bar, removed the swaybar endlinks, and removed the stock steering stabilizer.
This is when I started to have some thoughts. Can I reuse the factory track bar? A track bar is what keeps the front axles centered under the vehicle, and when you lift a Jeep, the axle will end up getting pulled to one side if you don’t either 1) drill a second hole for the track bar (detailed in the Skyjacker instructions) or 2) buy an adjustable track bar (optional).
Will I want swaybar disconnects? This allows you to completely disconnect the front swaybar allowing the front axle to articulate more, since they wouldn’t be limited by the swaybar’s flex. Certainly preferred when off road.
Will I need longer bumpstops so the wheels to come crashing into the fenders when that swaybar is disconnected?
After some doing searching, making some phone calls, and having conversations with other Jeep owners, I decided we probably should get an adjustable track bar, swaybar disconnects, and longer bumpstops. While this meant we wouldn’t finish our installation that day—or that week, for that matter—it also meant we’d be happier with the overall system in the long run.
additional parts
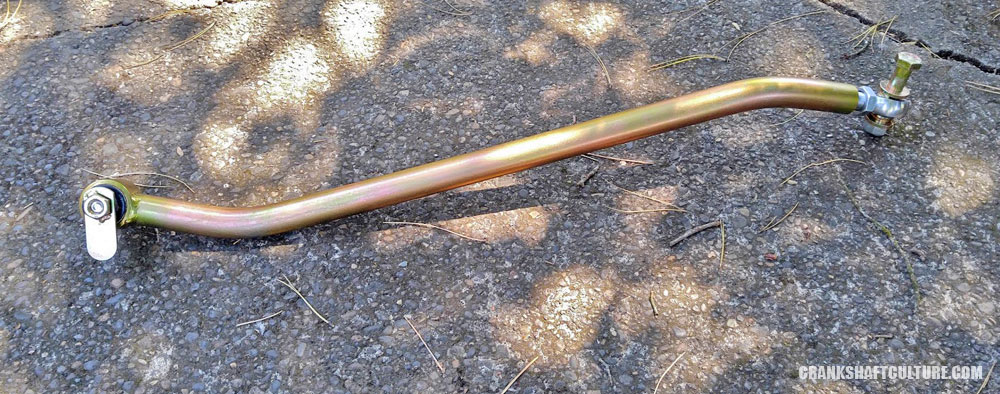
I ended up going with a track bar from Metalcloak. It’s solid chromoly construction is super durable, and it came with larger, grade 8 hardware. And since it’s adjustable, you can dial it in for your specific lift size. If you’re like me, and are used to working on smaller vehicles, you may end up needing to buy a couple big-old tools, such as 15/16″ wrenches to install the main bolt and 9/16″ and 5/8″ drill bits to widen the existing track bar holes.
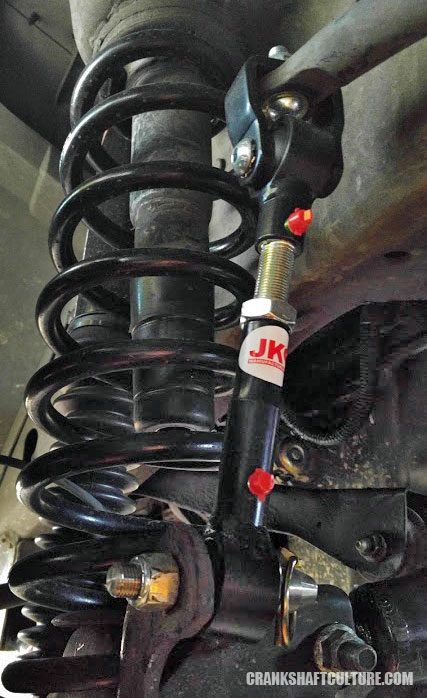
For sway bar disconnects, I purchased Quicker Disconnects from JKS. These are easy to install once you remove the factory sway bar bolts, which are press-fit in. (I had to build a tool using a C-clamp to push the bolts out.) They’ll allow you to have full flex from that front axle, too. They, too, are adjustable as well as greaseable.
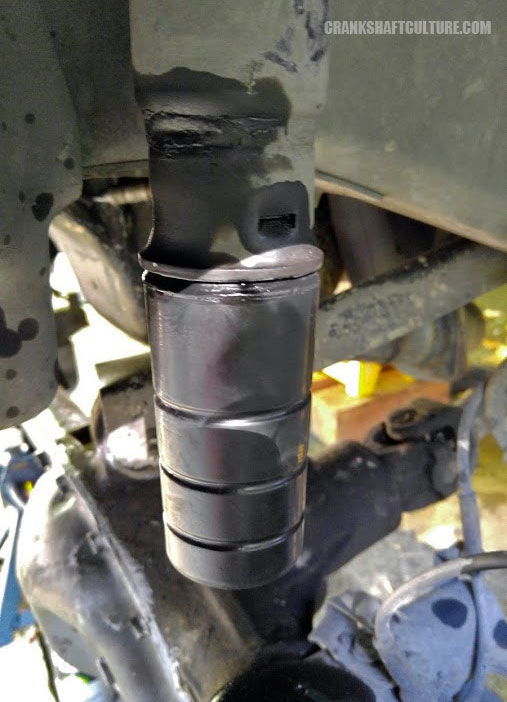
Finally, I purchased a set of extended bumpstops from Daystar Products. These will ensure I don’t jam the larger tires up into the fenders and potentially damage the vehicle.
Front suspension (continued)
I went ahead and installed the track bar, which went on fairly easily thanks in part to some silicone spray on the bushing and my trusty rubber mallet.
PRO TIP: A rubber mallet is the best way to hammer in many parts that have rubber bushings. Silicone spray, which will not eat away rubber, is a great lubricant to use for rubber bushings.
Again, due to inexperience, I installed the track bar without thinking I’d need to adjust it once the wheels/tires were on. These are best to adjust when the wheels and tires are on the vehicle.
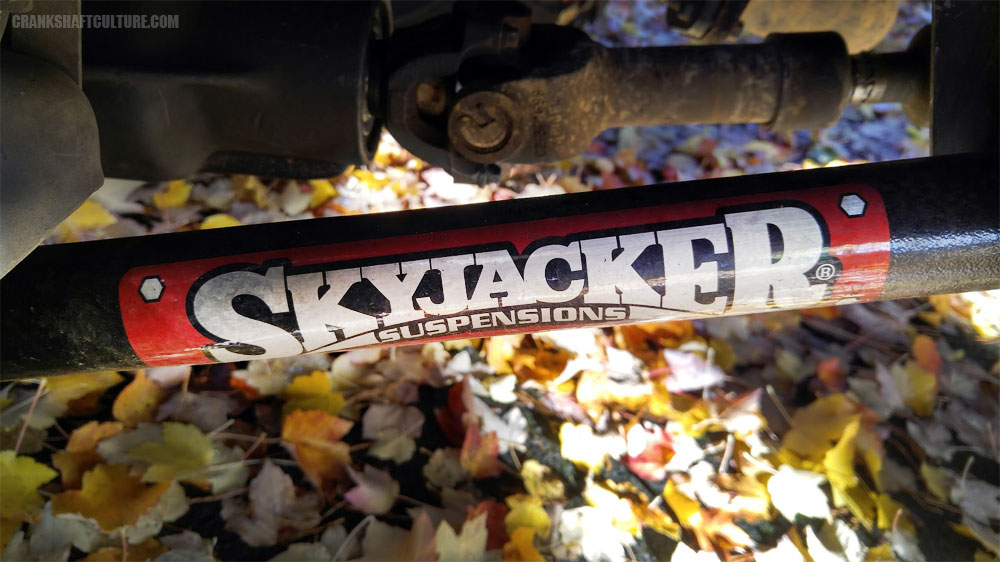
Next up I installed the new Skyjacker lower control arms. This proved to be a challenge, not because of anything Skyjacker did, but because the way a solid axles reacts when unbolted. It wants to roll on its axis backward. This makes it very difficult to line up the front holes. We spent an embarrassingly long amount of time attempting to line those holes up in 100-degree weather, only to give up. I should’ve stopped and googled it hours before, but my stubborn machismo prevented me from doing so.
The next morning, I looked up the best way to cant that axle forward to line those bolts up. It turns out that if you put the wheels and tires on the axle and start to jack it up with a floor jack, the axle will self locate. And sure enough, it did. I was able to get everything bolted up! Awesome right? Well, sort of.
With the lower control arms installed, I could not for the life of me get the new, much taller springs onto the axle since the front axle would not drop far enough with the lower control arms attached! (This is why I drink.) Like hell I was going to redo those lower control arms! However, thinking with a much clearer head than the day before, I went to the all-knowing Internet and researched this. It turns out you either 1) installed the springs first and then the lower control arms, or you rent a set of spring compressors and compress the spring. Off to NAPA I went.
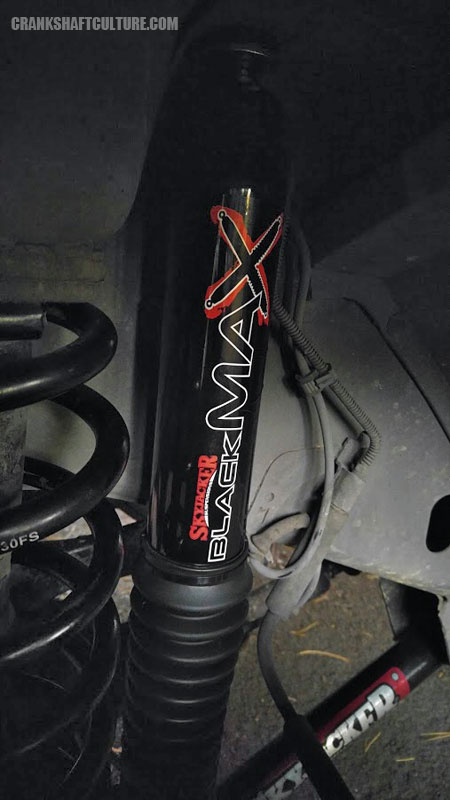 I’d used spring compressors many times, and these were the same as the rest. However, this time I had my aforementioned Milwaukee impact driver, which made quick work of compressing the springs. With Mercedes’ help, we got the springs seated without issue. The longer bumpstops did make a challenge.
With an end in sight, I installed the new Black Max front shocks, steering stabilizer, and torqued everything down. FYI, that Metalcloak track bar needs 150 ft/lbs of torque on that 15/16″ bolt. That’s a lot. Shoot, that’s more than I weigh.
Next up were attaching the JKS disconnects, which was very easy.
Finally, I needed to readjust the steering wheel so it was centered (an easy process), and undid the track bar and adjusted it accordingly (much easier this time around).
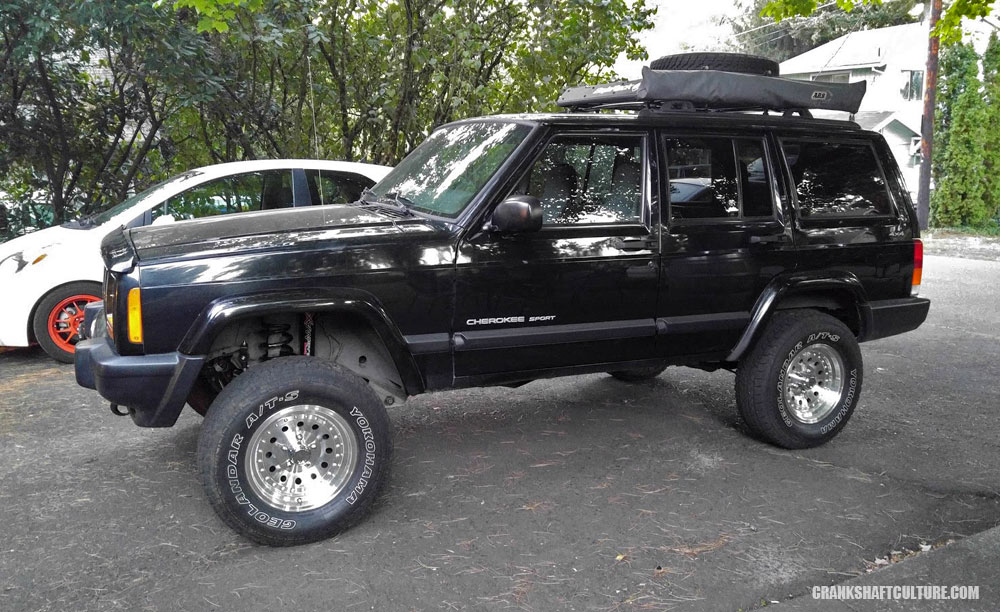
Yes, there was some blood, sweat, and tears put into lifting my Jeep (along with a bunch of extra money due to my last-minute parts buys), but I learned a ton … make that a metric ton of stuff about how this rig goes together. And not only is it a great learning experience, but it’s also a great thing to know in case you do have a trail failure and need to fix it.
impressions
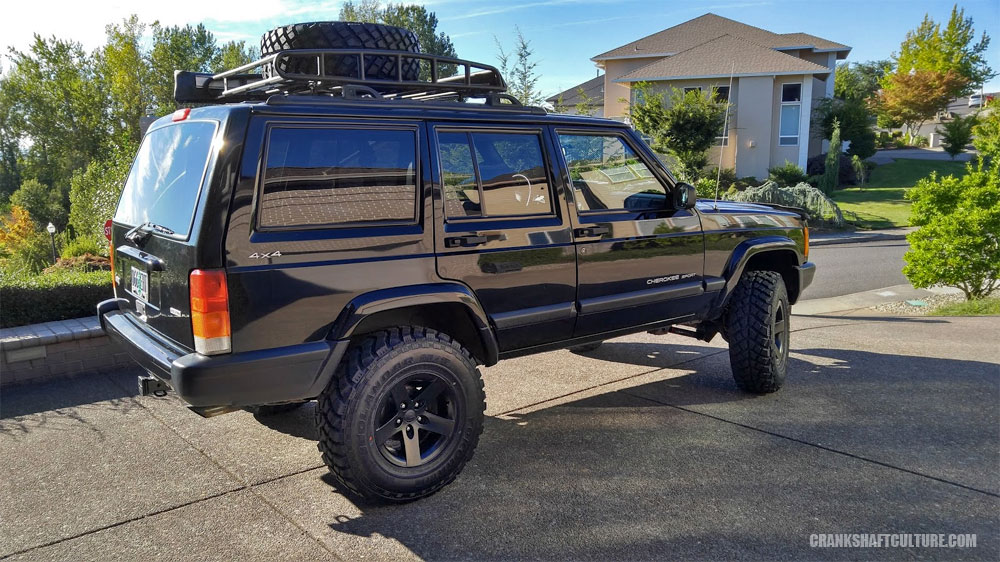
The kit looks great, especially after adding our 31×10.50 Yokohama Geolandar MT+ tires on our Mamba MR1X wheels. It’s just the size I was looking for.
On the road, the ride is surprisingly good. It soaks up bumps well, and highway ride is very comfortable. I haven’t had a chance to flex it out or really take it off road yet, but knowing Skyjacker’s history, I’m sure it’ll perform great. We’ll be sure to note its performance the first time we venture off the pavement.
I was impressed by Skyjacker’s parts and parts fit. Other than slightly modifying our rear spring perches, everything went like it should, despite our lack of experience working on a Jeep. I look forward to hitting the trail and getting more time with this setup; I think we’ll be very happy in the long run.

Andy Lilienthal is an award-winning writer and has written professionally since 1999. He has over 13 years in the automotive aftermarket working at companies including Warn Industries, Bushwacker, and Lund International. Editorial works include writing and photography for off-road print magazines, to new-car reviews online. He’s a photographer with images in multiple magazines, blog sites, and The New York Times.

Leave a Reply