Canadian-based Coastal Offroad (or CO) makes a variety of weld-together off-road bumper kits. They offer them for several makes and models, including Mitsubishi Delica Space Gear vans. Since we purchased our Delica Space Gear (L400) six months ago, we’ve been researching Delica off-road bumpers and decided upon CO.
The Options We Chose
Coastal Offroad produces weld-together Delica off-road bumpers for both series 1 and 2 Delica L400s with lots of options. This includes steel or aluminum construction, various bits of body armor, and more. We opted for the series-1-specific heavy-duty front winch bumper and low profile rear off-road bumper with the single swing-arm kit (with tire and jerry can holder) for our van, dubbed the TBD Tractor.
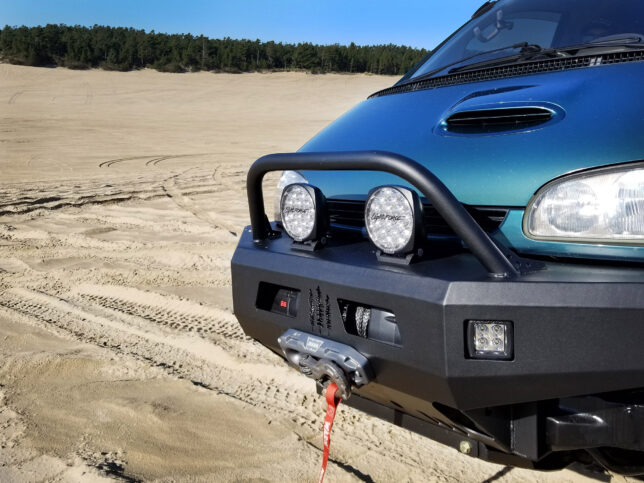
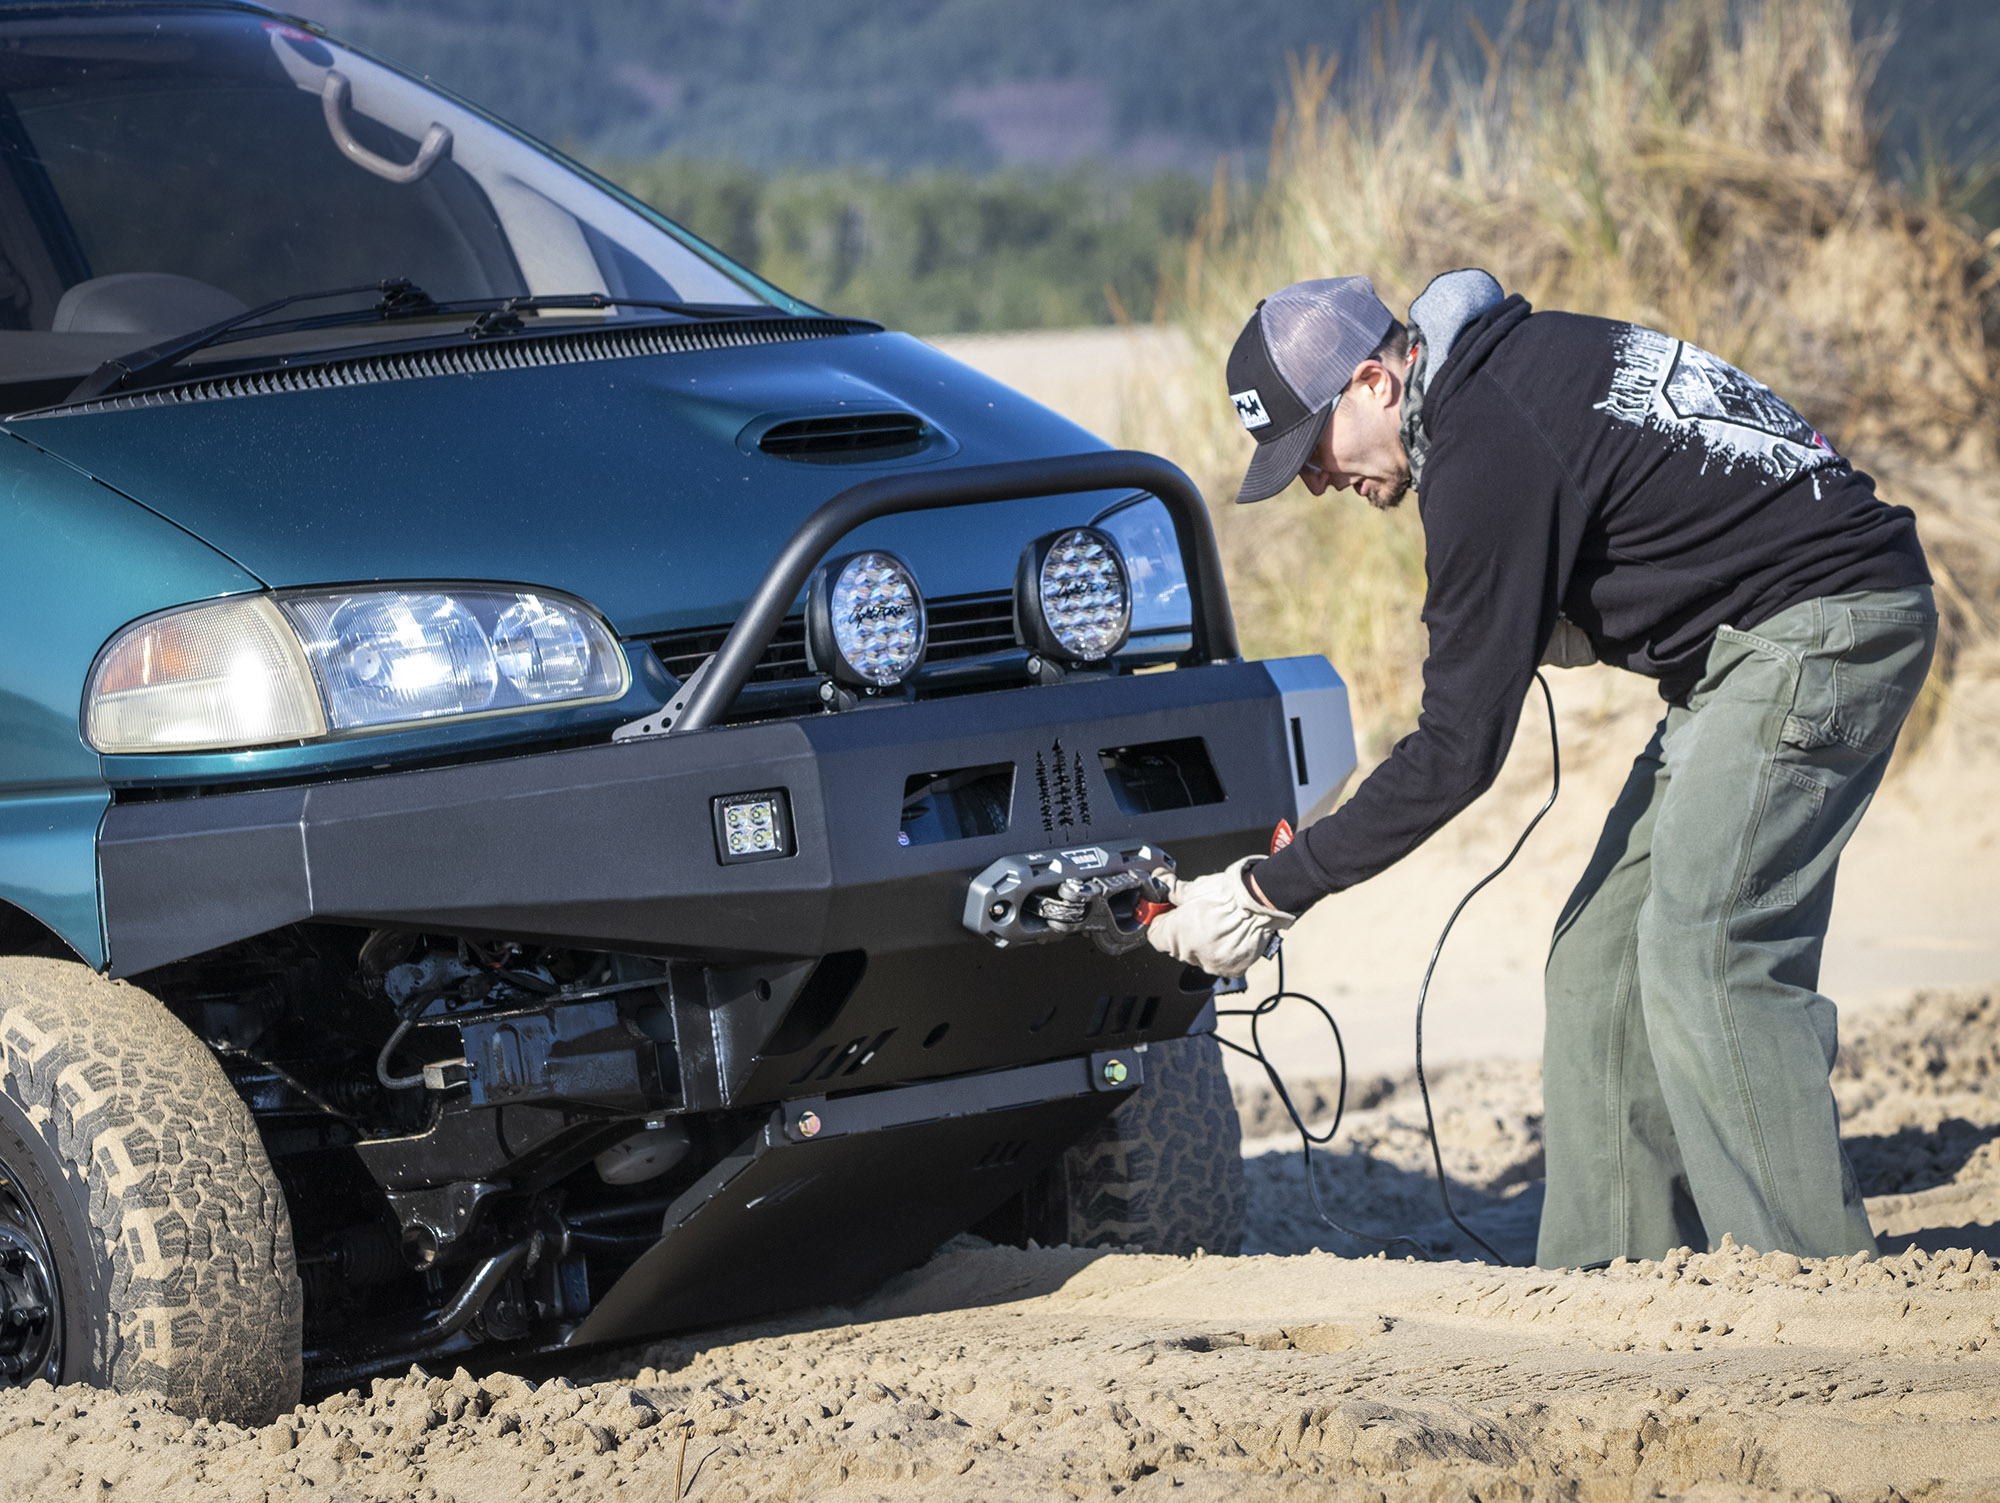
CO’s Delica front bumper kits include recovery points, an integrated winch mount, and ports for cube lights. There are two optional bull bars to protect the front of your adventure rig—we chose the single looped bull bar.
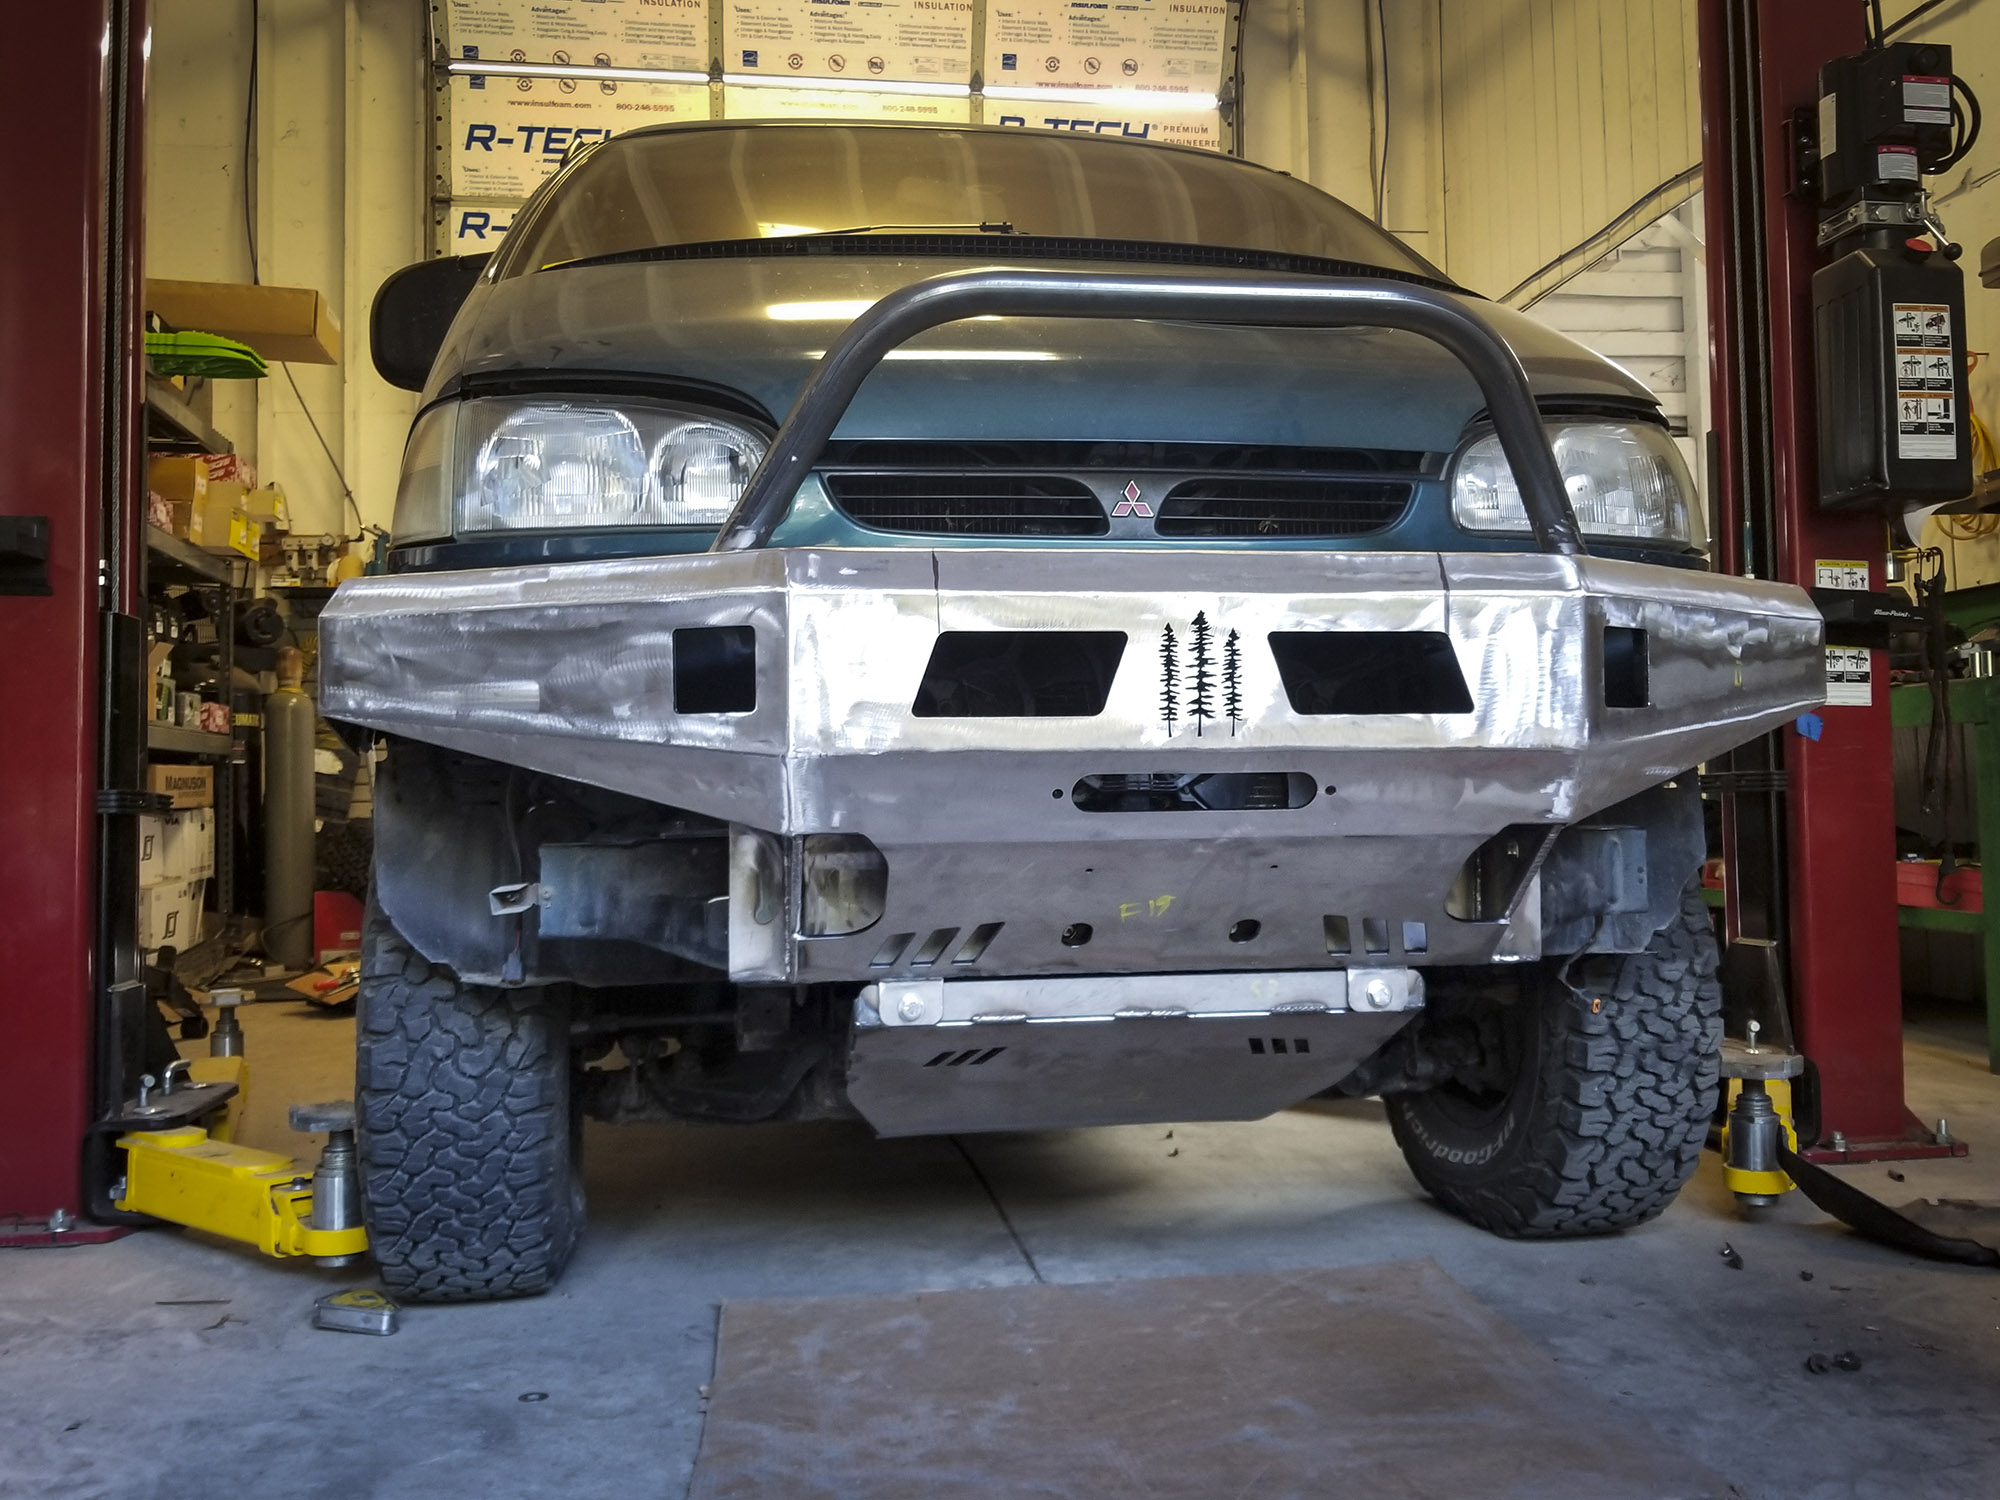
Additionally, we worked with the company to have larger parallelogram-style openings to showcase our WARN winch. These also provide easier access to its clutch handle. We also changed the bumper’s center design to incorporate a few Sitka trees. This is in honor of Coastal Offroad’s logo and to pay homage to the old-growth trees that adorn our home, the Pacific Northwest.

We also chose CO’s front skid plate and rear two-inch receiver to haul bicycles or for an added recovery point when using a shackle receiver bracket. Note: Coastal Offroad doesn’t recommend towing with said receiver design.
The Installation
Before your kits are shipped, understand what the kit includes and if extra steps are involved. Will you be supplied with all the hardware? Do you have to alter any part of the vehicle in order to fit the kit? Will instructions for the exact kit you ordered be supplied?
Knowing these things ahead of time may save you time and money. If these points aren’t listed for the weld-together kit you’d like to purchase, contact the manufacturer or seller to learn more about these Delica off-road bumpers.

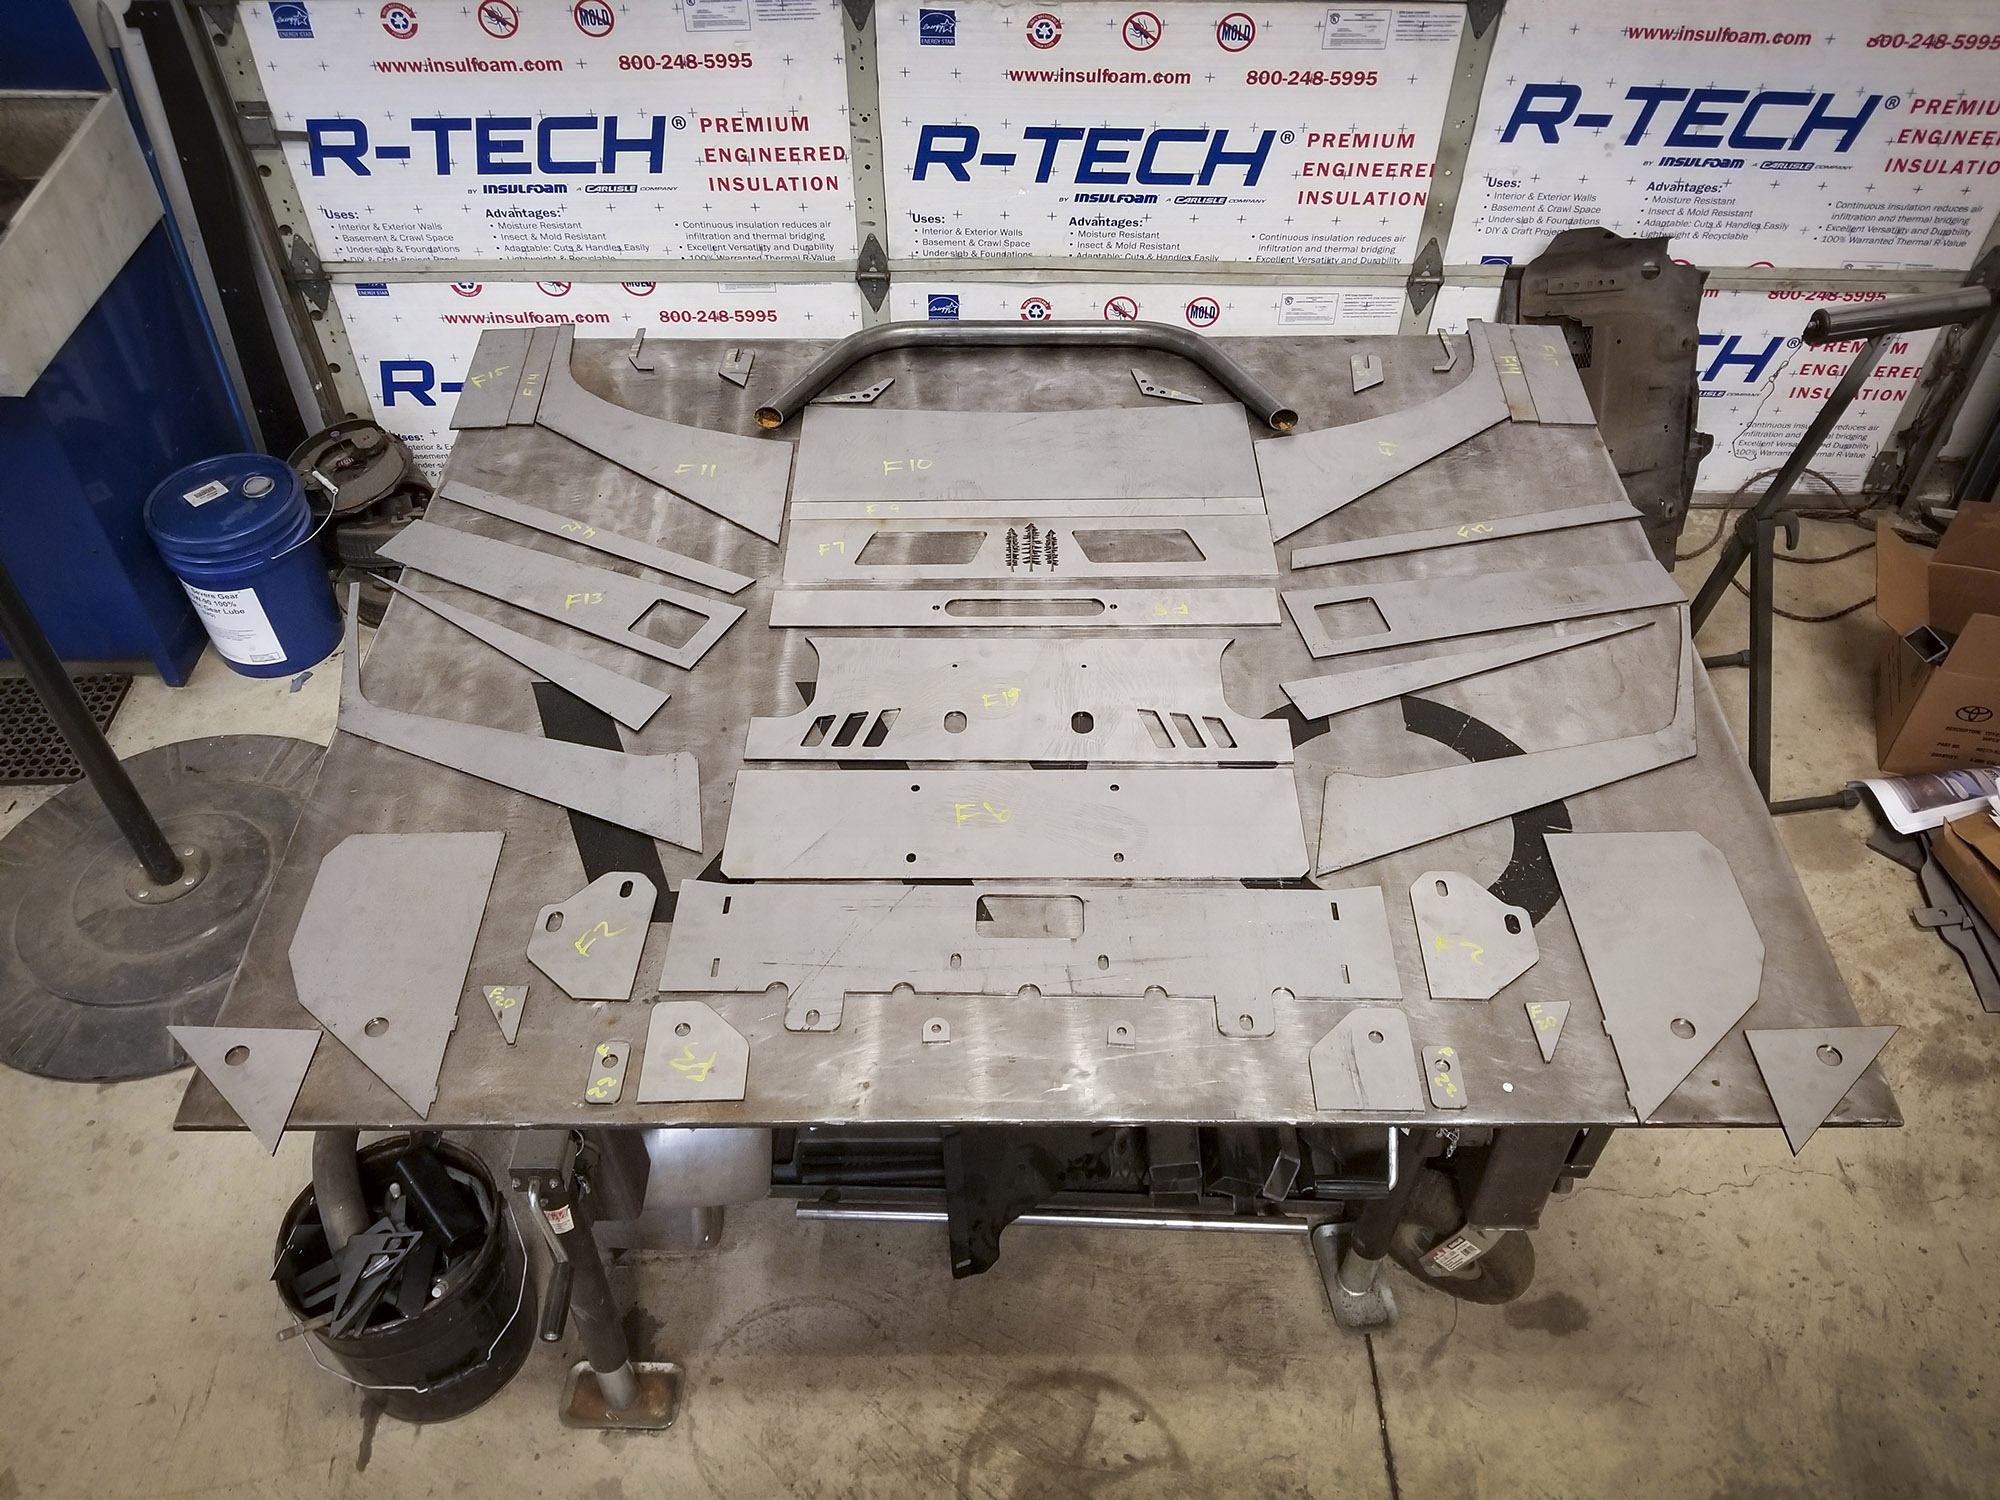
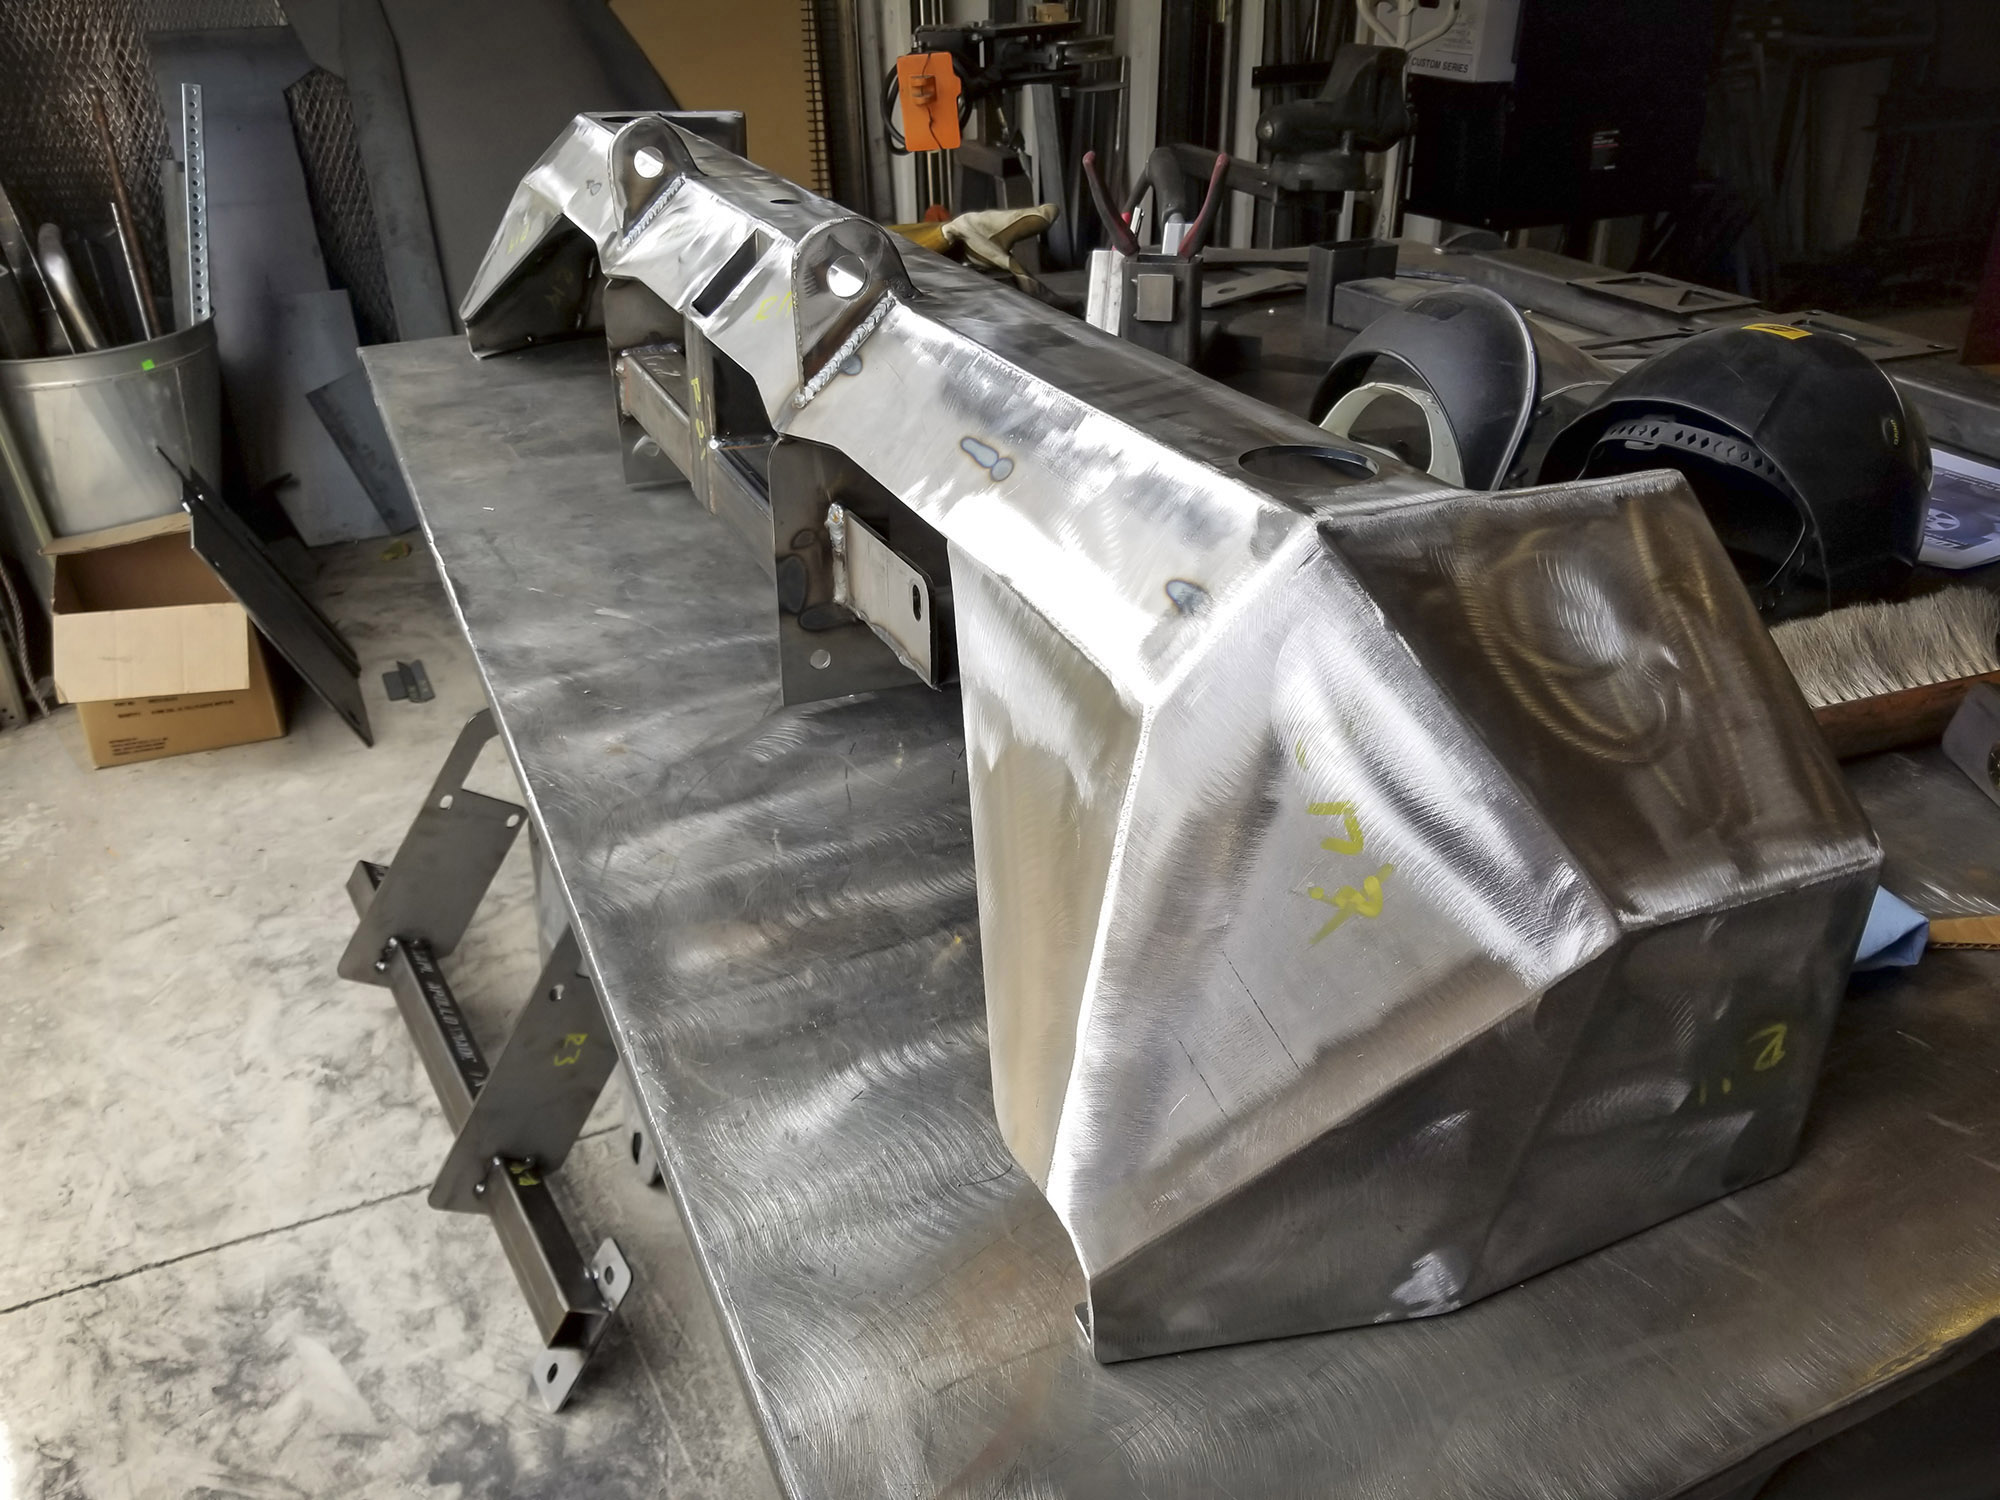
And If you’re handy with a welder, you’re ready to get welding. If not, hire a capable fabricator to do the job for you (as we did with our kits).
In our off-road bumper install article, we highlight various install tips and tricks to get the Delica off-road bumpers assembled and installed successfully.
Coastal Offroad Bumper Pros
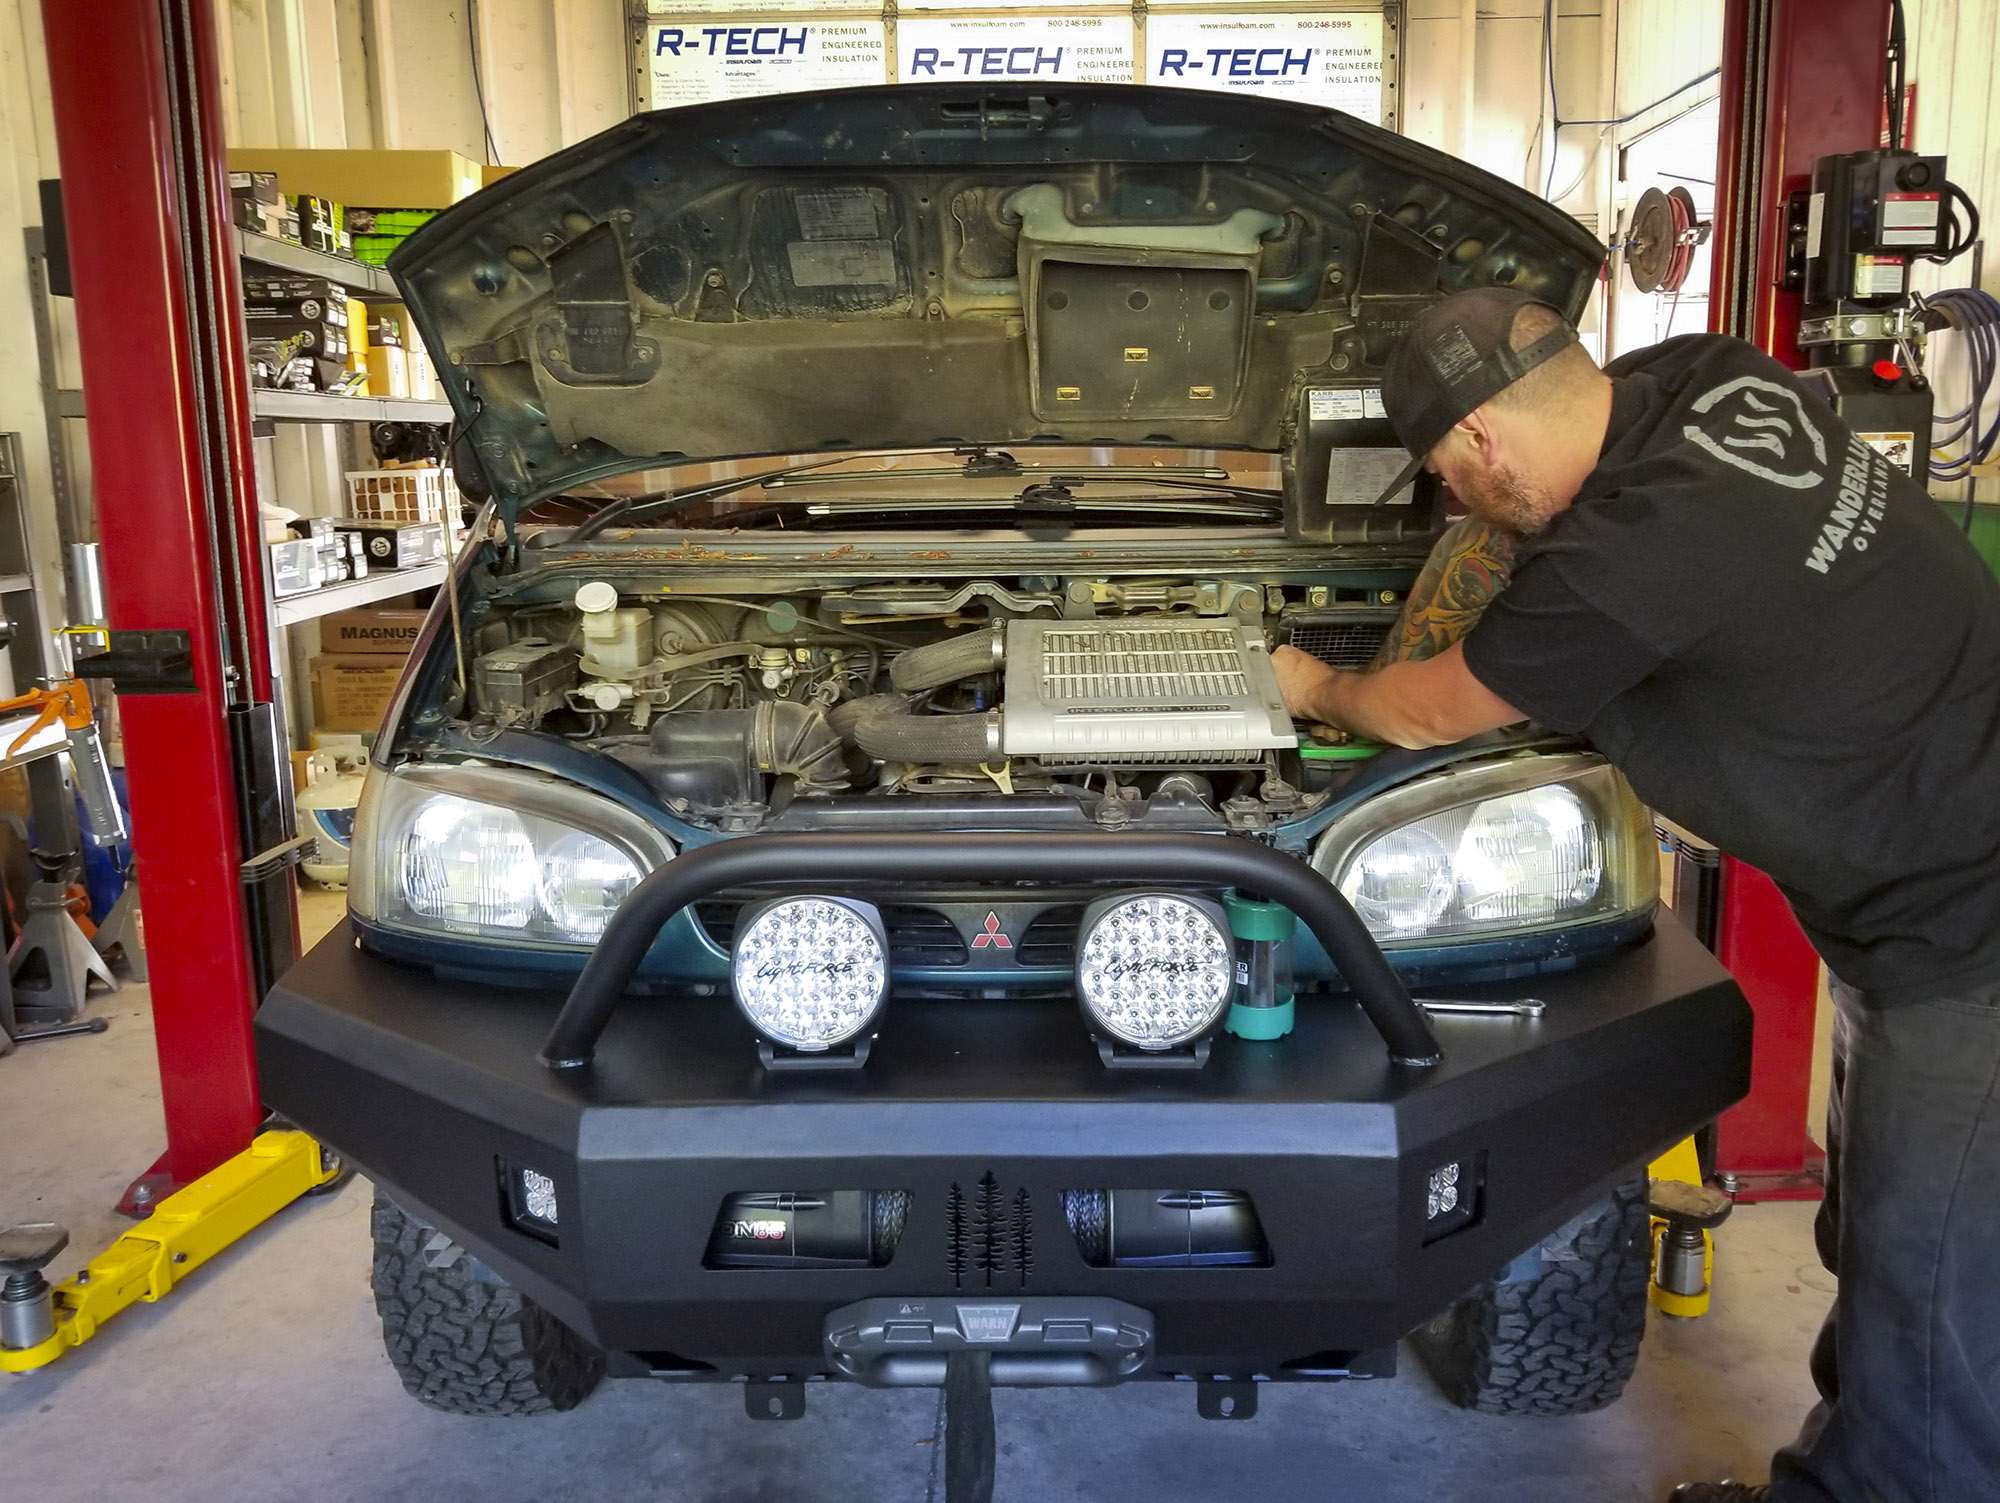
Once the Coastal Offroad kits are welded together, powder-coated, and mounted, they’re super stout. They’re thoughtfully designed and are ready for action. The front bumper provides an insane amount of approach angle for the front wheels. It is very sturdily constructed, too. The semi-hidden winch configuration is very secure. Its location in the bumper keeps it protected, yet it’s easy to access the controls. We needed to relocate our WARN ZEON’s control pack housing, but other winches should bolt right in. Additionally, there are two recovery points with CO’s front bumper setup.
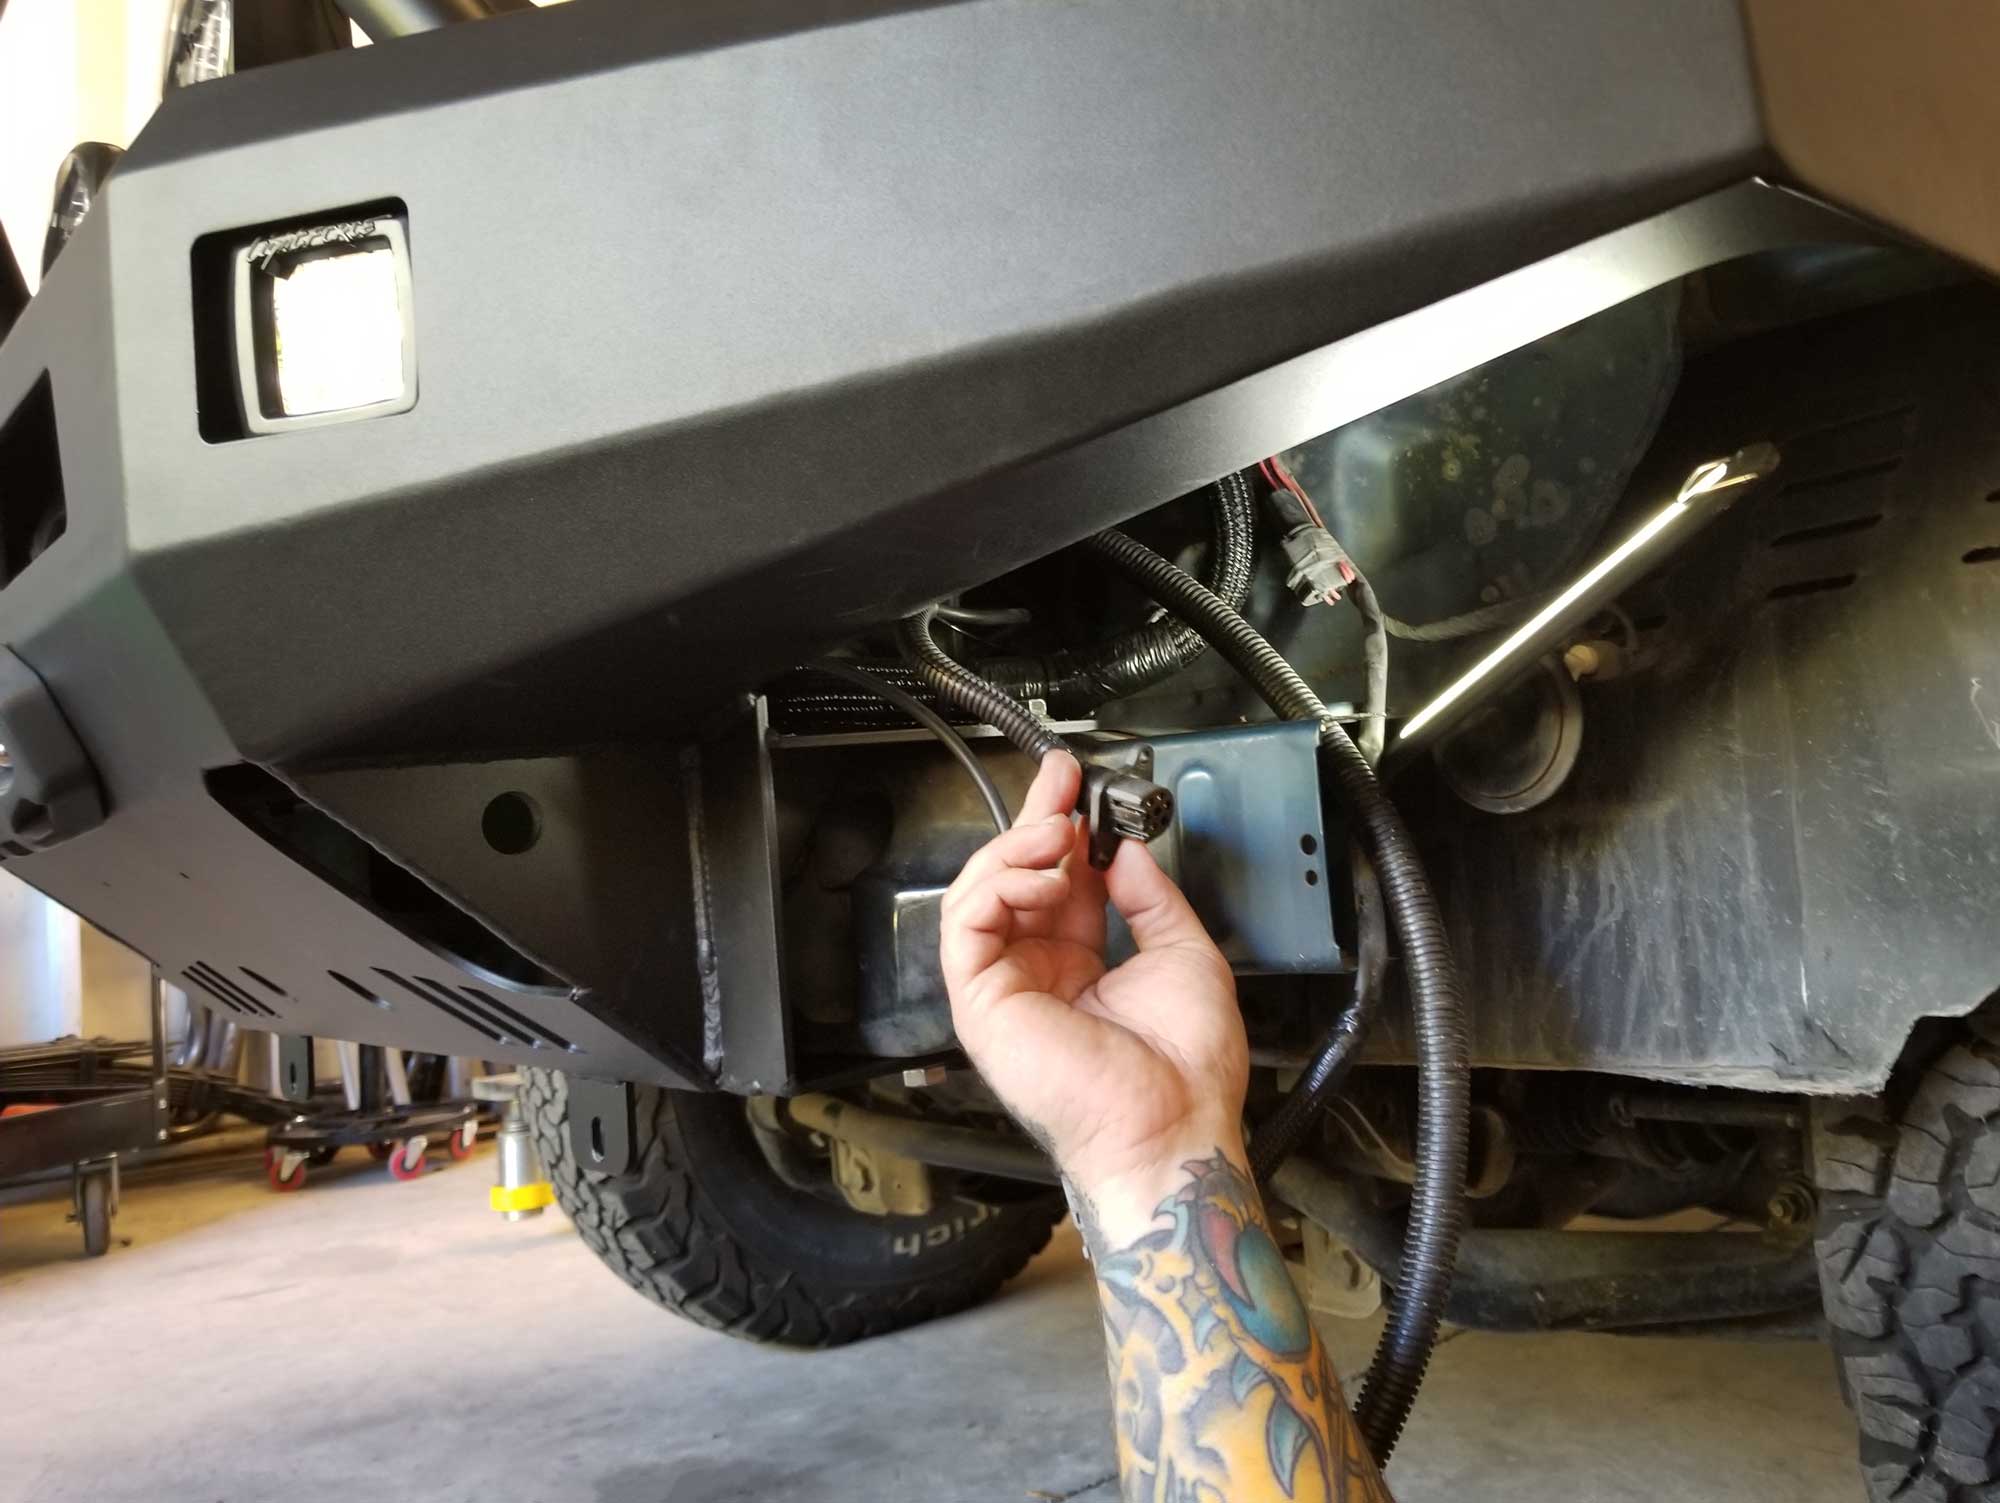
If you plan to run auxiliary lights, there is plenty of space on top of the bumper to mount them. Our kit houses our 6-inch Lightforce Venoms with ease. Plus, there are 3″ cube light ports for fogs or spots, our kit houses Lightforce ROK40 lamps. The bull bar caps off plenty of additional bumper protection.
The front-mounted skid plate offers up a wide area of coverage. This is perfect when you traverse over larger rocks, stumps, or other trail debris. It helps to protect the oil filter and oil pan as well as other vital areas. It’s an exceptionally strong and highly recommended option.
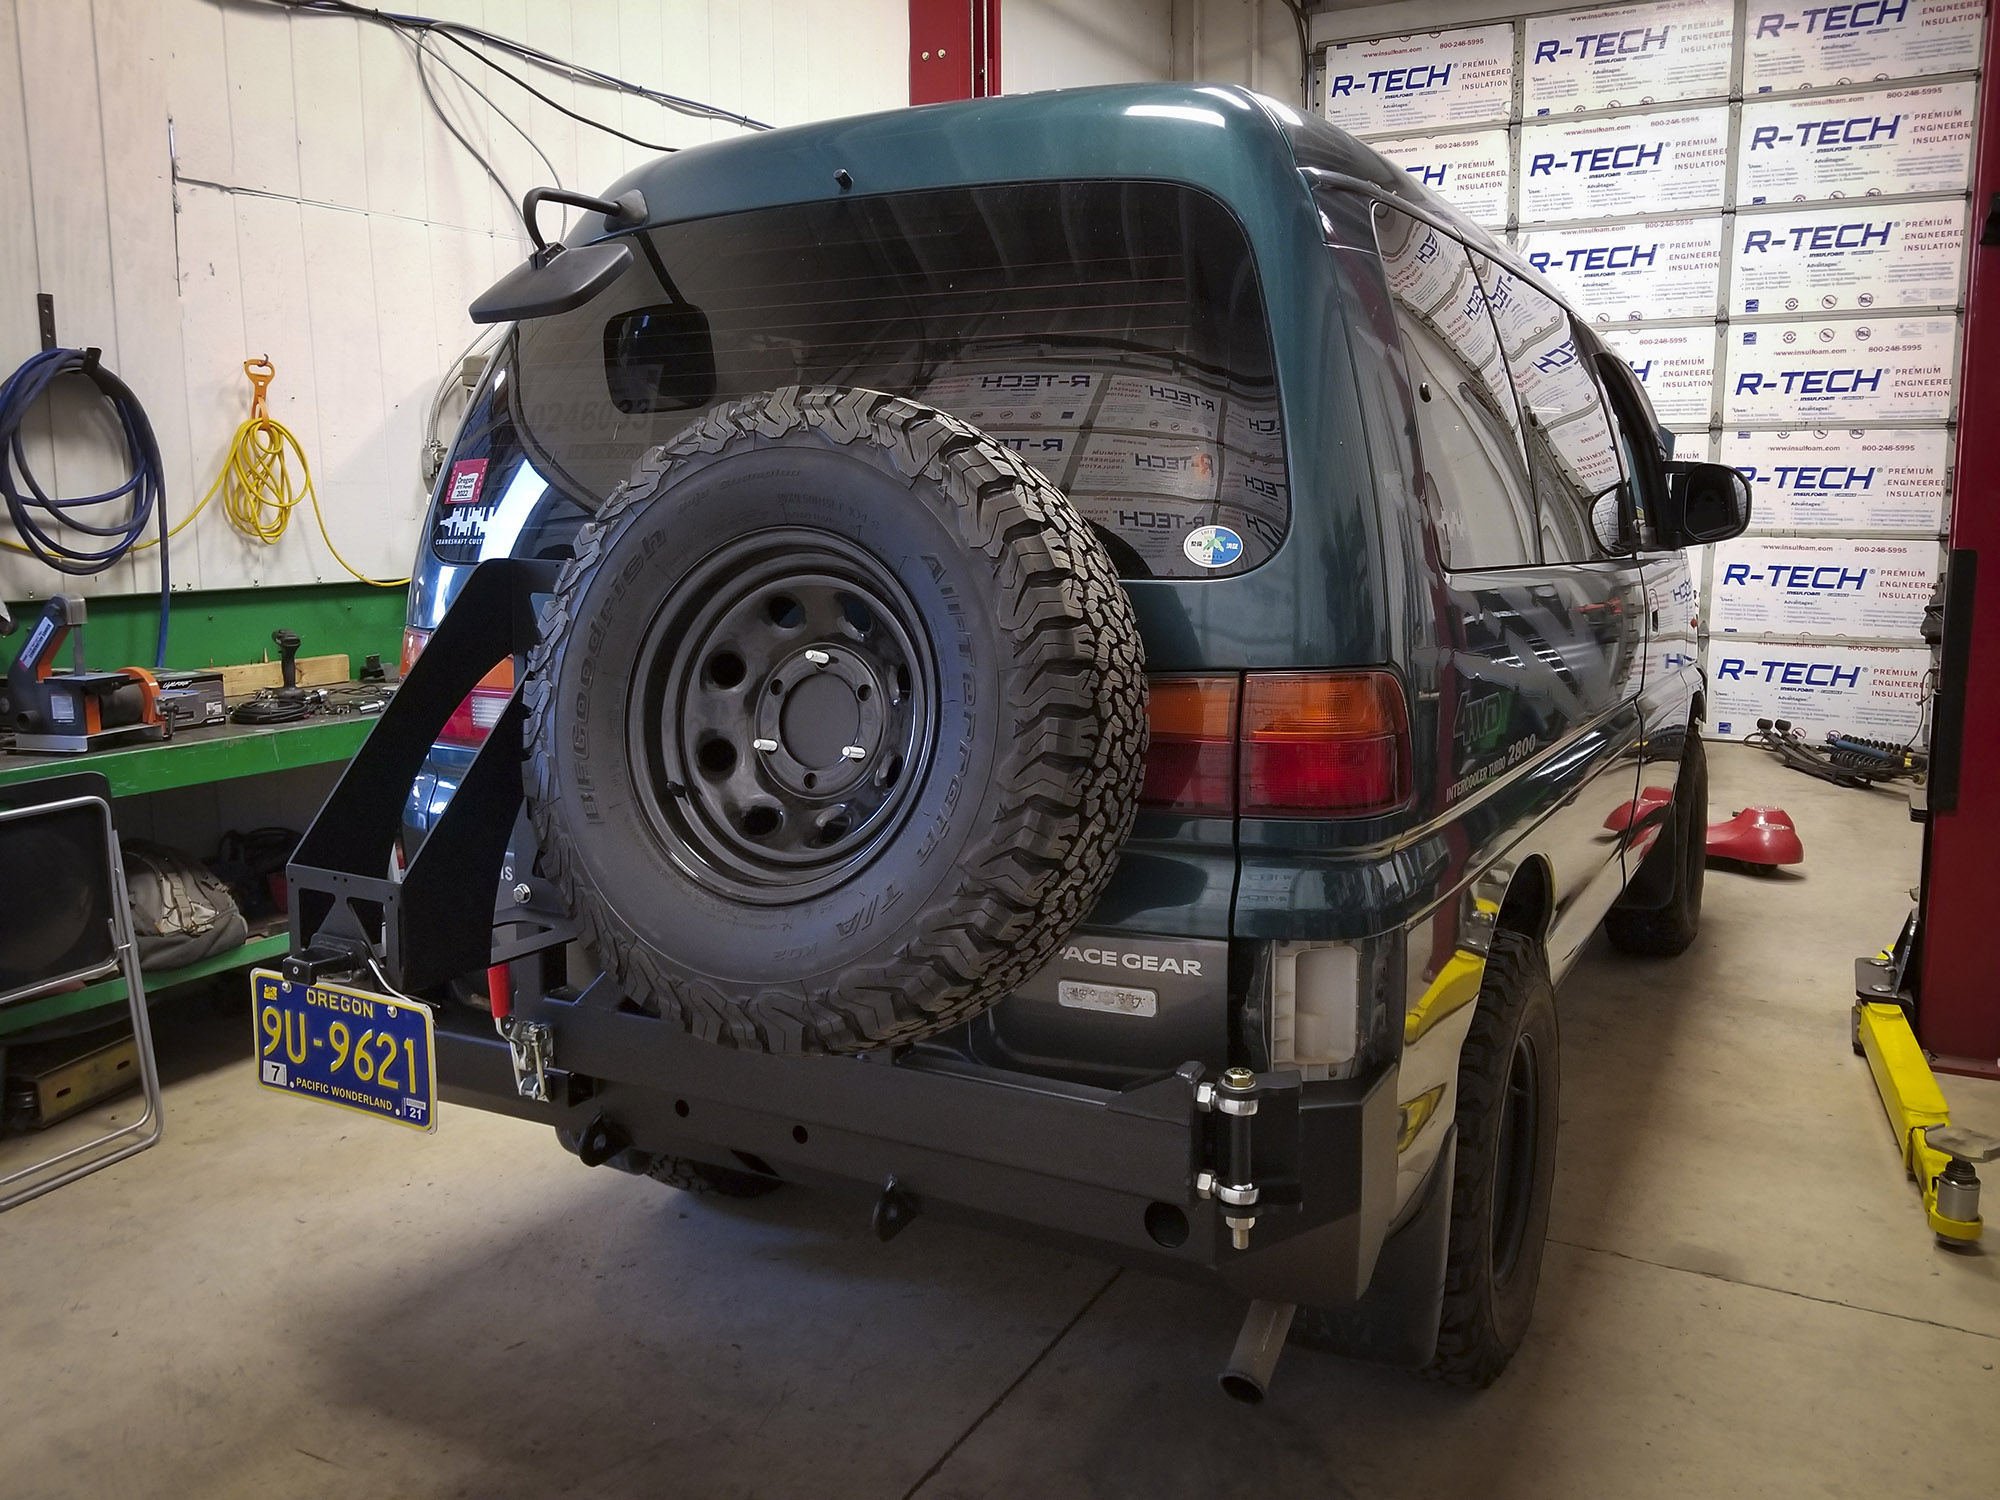
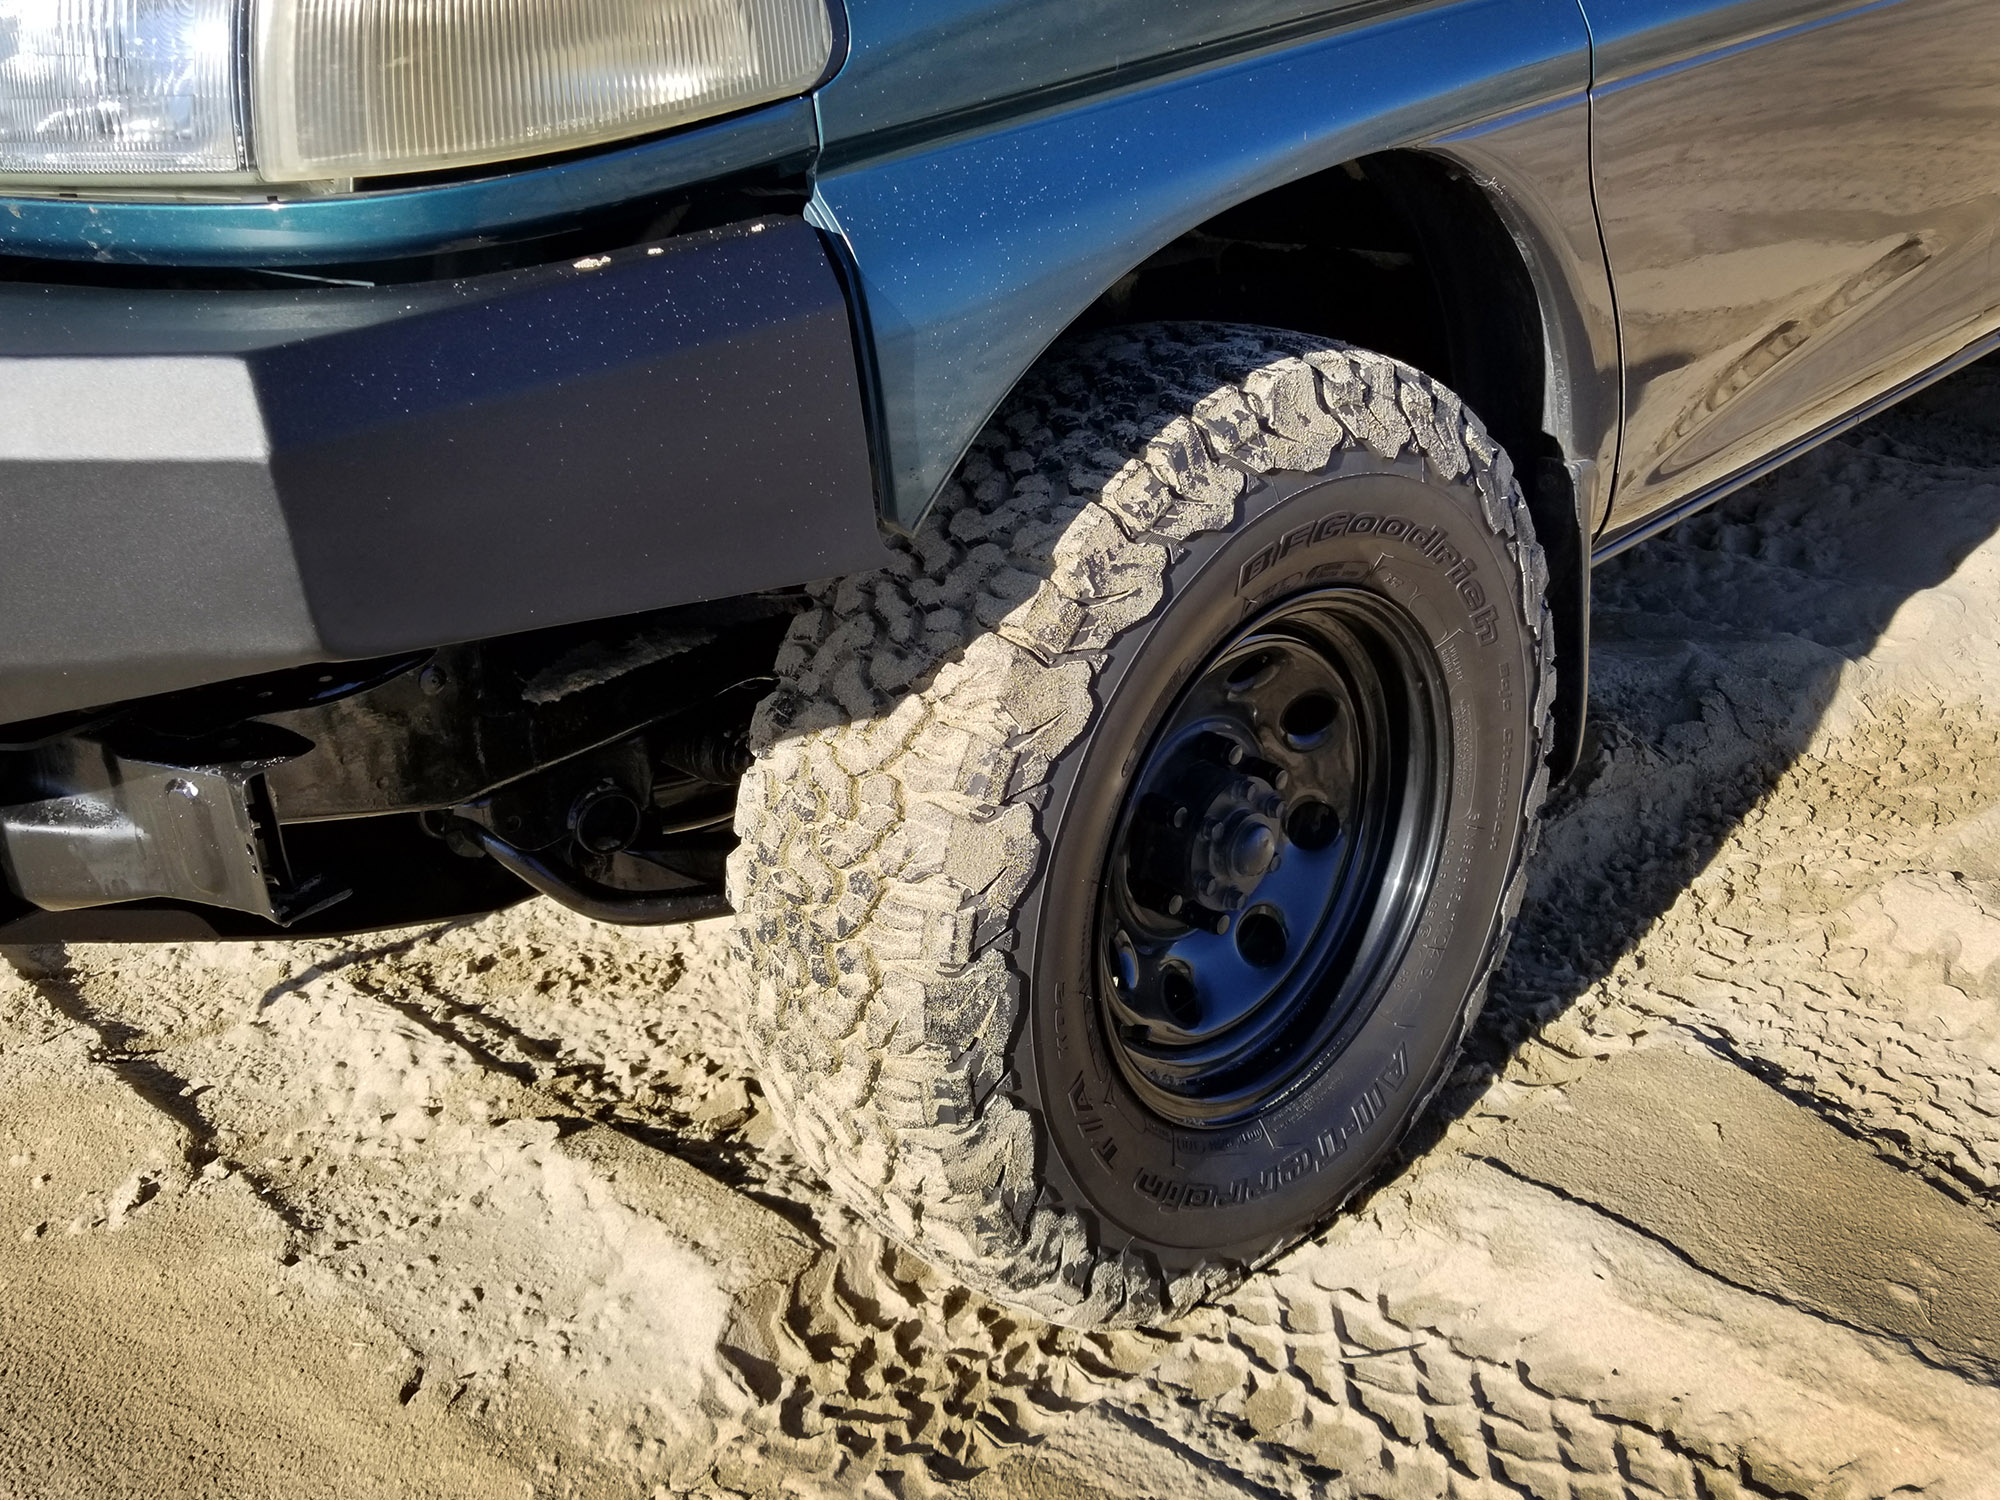
The rear bumper has a slim profile with beefy corners and is equally brawny. It allows for a hefty side-mounted hinge—the cornerstone of the single tire/jerry can swing-arm. The spare tire mount continues the well-built theme, holding the 15″ steel wheel with 33×10.50R15 tire securely. Note that you do have to supply your own wheel studs for this piece.
Once the swing-arm lever is opened and the pull-pin is lifted up, the swing-arm opens easily, allowing for access into the rear liftgate. Even with our beefy BFG spare tire, water canister, and recovery boards, the arm moves evenly and with ease. Closing the arm is just as simple. We haven’t experienced any rattles from this setup.
Additionally, the two-inch receiver houses our hitch receiver bracket, once mounted prior to off-roading fun. There are two welded eyelets for rear shackles for extra recovery options.
Overall, this setup will undoubtedly last us for years of adventures. The kit’s CNC-cut 3/16” plate steel is precisely cut. Once finished and installed, it will allow for solid opportunities for self-recovery. It can also help others get unstuck and let us carry critical gear along with us.
Coastal Offroad Bumper Cons
The front bumper has a huge amount of clearance on both bumper sides. However, it uncovers areas including the protruding frame, the frame/unibody on either side, temperature sensor, horns, wiring, etc. This is rather unsightly so we painted these areas black with POR 15 rust preventative treatment.

Also, Coastal Offroad’s website didn’t mention cutting the Delica’s OE fenders to fit said bumper kit, something they’ve now told us they’ll be noting on their site. We didn’t care for how it looked once it came together without cutting the fenders. However, we didn’t want to disturb nearly 30-year-old paint to make the cuts.
Consequently, we custom-fabricated a set of side bumper “winglets” to join the bumper’s design naturally to the bottom-most point of the fender corner.
The rear base bumper itself works well. We purchased red reflectors for the round openings, which aren’t included. The rear license plate holder bracket, license plate light, and associated wiring and mounting hardware were also not included, and we had to source them. However, CO has since told us they’ll be including license plate lights for swing-away kits that block the factory license plate location (such as this one).
The base rear bumper was difficult to install. This was due to an L-bracket issue that prevented us from easily test fitting and installing it. We had to cut our rear pinch weld and pound it down for the bumper to slip on and fit correctly. We ran into other Delica owners who had the same experience.
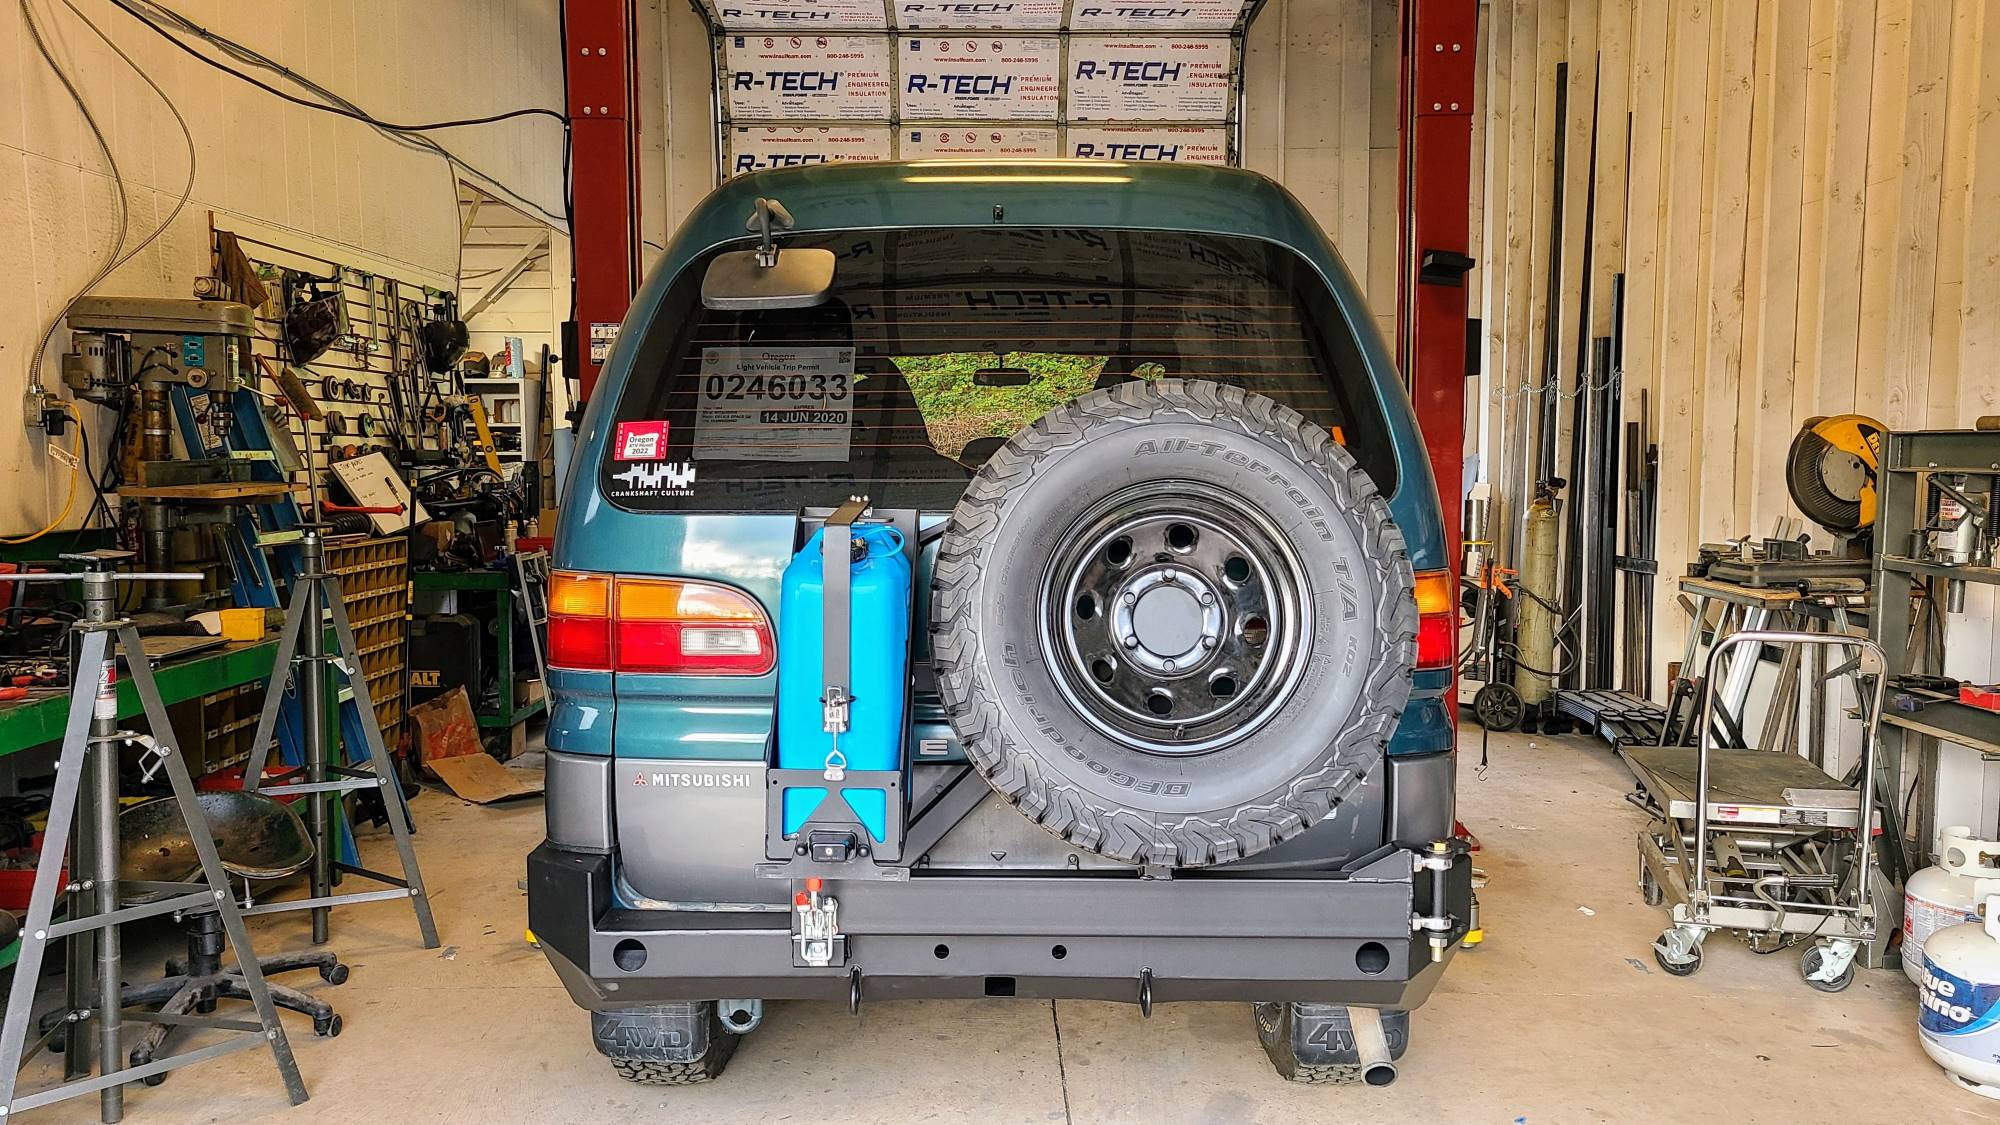
The rear swing-arm took the longest to assemble and install due to its complexity and a few unforeseen issues. One note: We’re not a huge fan of the latch on the jerry can holder. The locknuts on the back of the latch rub on our water can which could create wear-and-tear. Having countersunk hardware on the back would help, but flipping the hardware causes the locknuts to be on the front, prohibiting a padlock from being installed. As it stands, we’ll likely add some high-density foam padding near the nuts to protect our can.
Note: Our series 1 kits did not come with standard hardware (only proprietary pieces). This wasn’t listed on the website so we had to purchase all the standard hardware, the wheel studs for the rear tire carrier, the reflectors for the rear bumper’s corners, and the rear license plate bracket, light, and wiring after we discovered a note about this in CO’s instructions. None of this was expensive but it took extra time and added to the overall cost—we had to source and purchase said items while our project was being completed. As of 12/4/20, however, CO did tell us they’ll start including hardware and license plate lights, noting fender flare trimming, and clarifying exactly what comes with the swing-away kits.

Price and Time
Coastal Offroad lists its weld-together kit pricing directly on its website, including the Delica off-road bumpers. A series 1 front bumper kit similar to ours is $745 USD at the time of writing. The rear bumper and single-arm swing-away kit is $1,058 USD. Keep in mind, prices can fluctuate depending on various available options. It’s best to check with Coastal Offroad directly for accurate pricing and option availability.
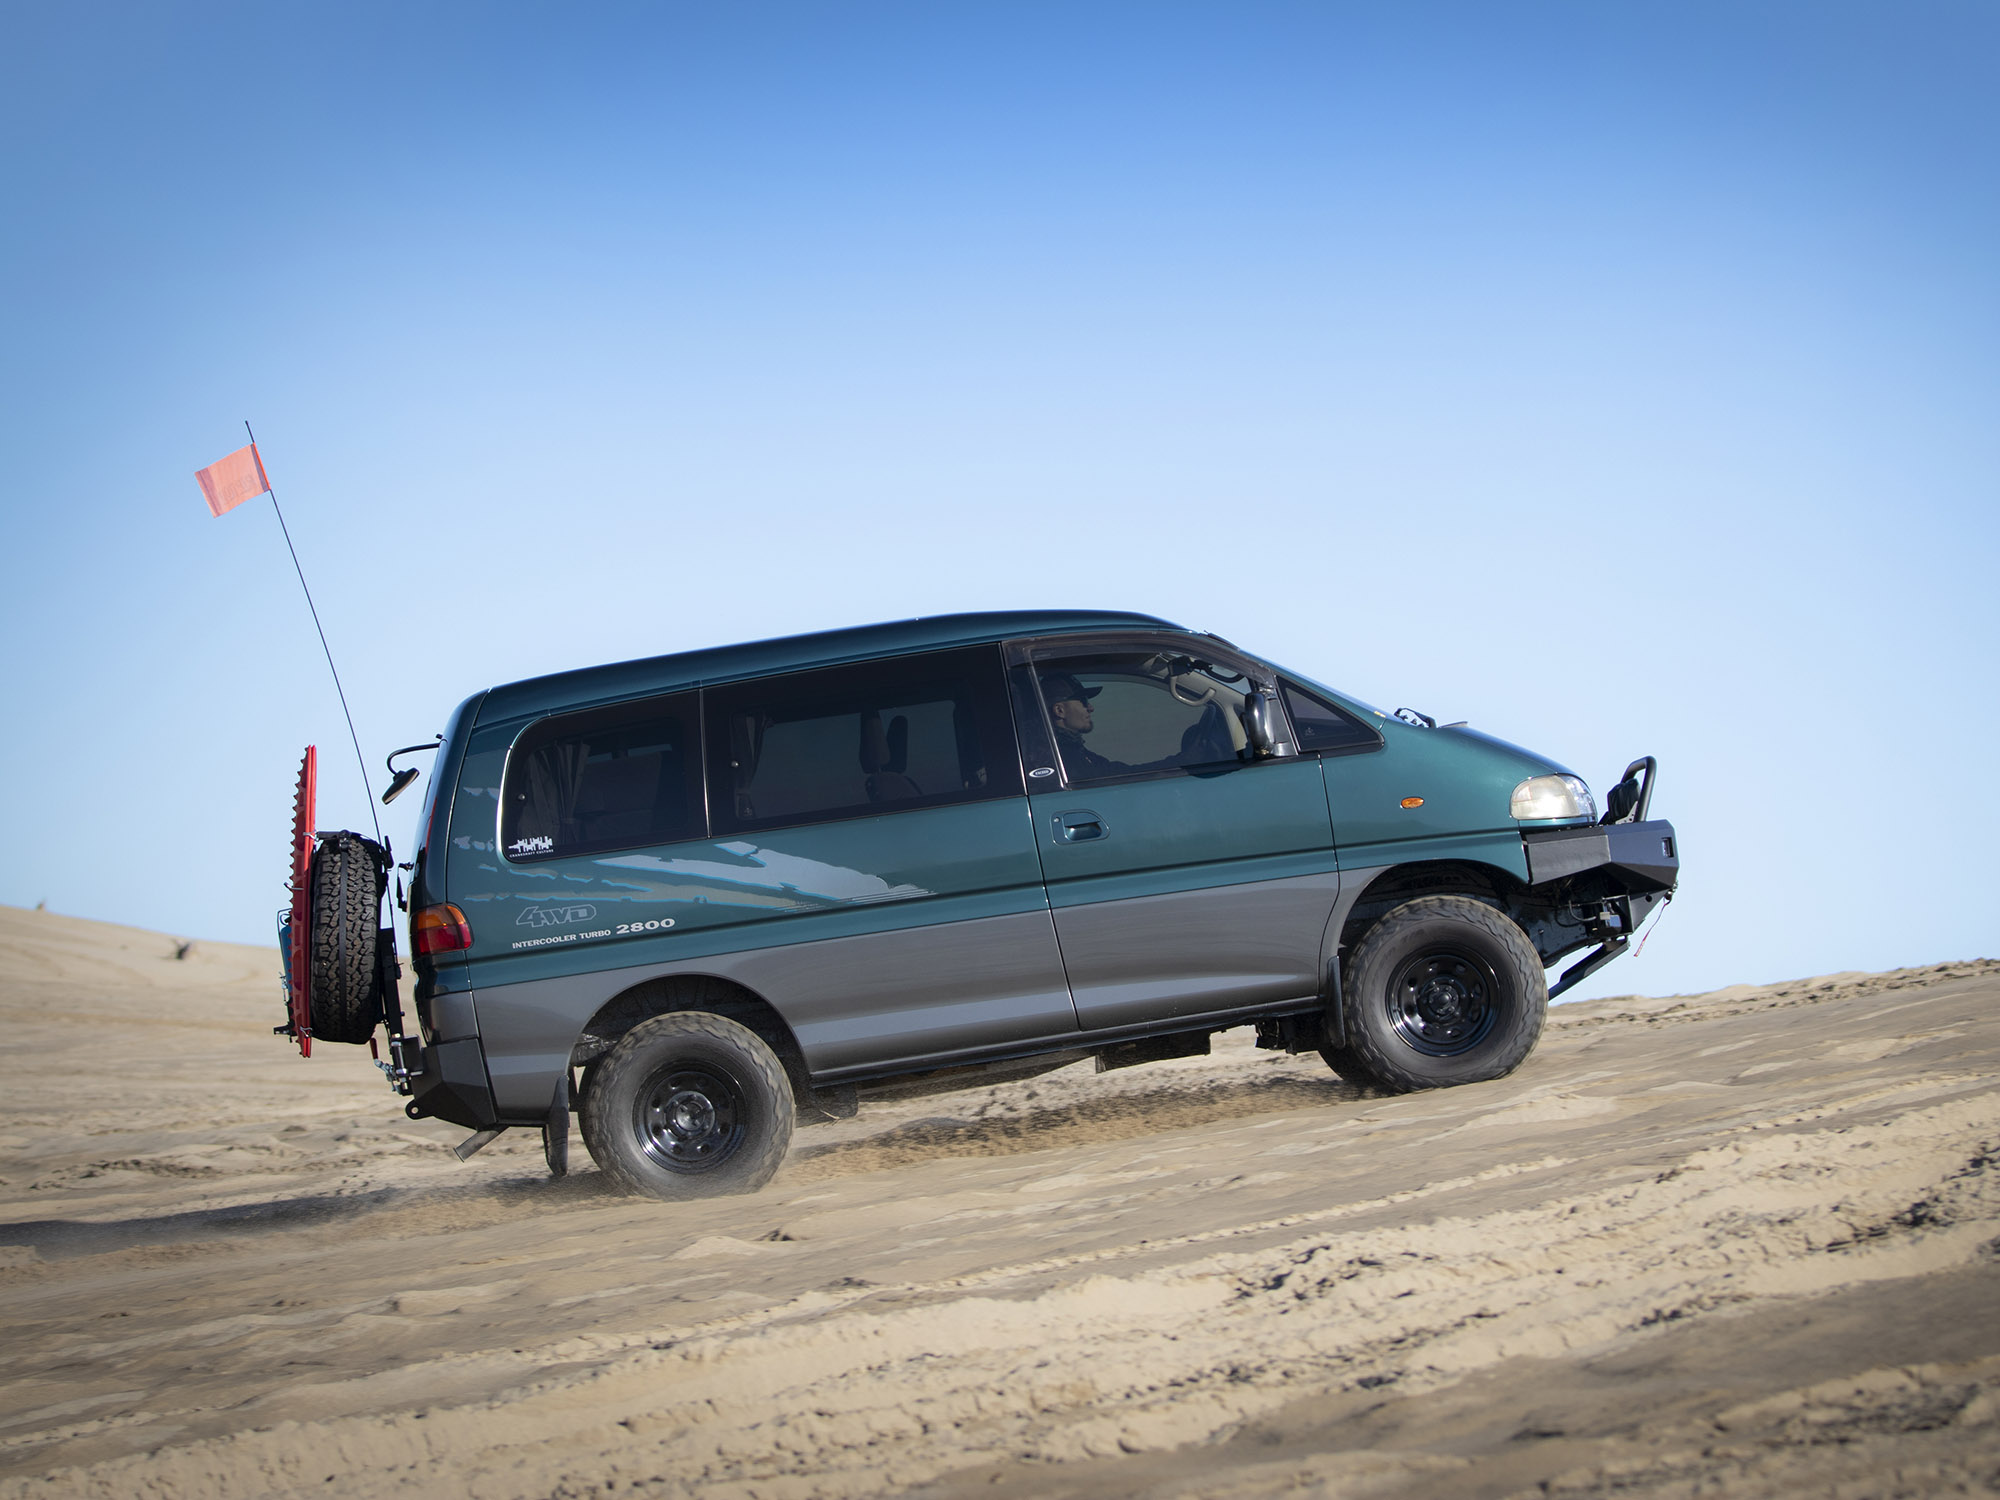
As with most intricate fab endeavors, we experienced some challenges along the road. The overall project took longer than estimated and was more expensive than anticipated after fabrication and powder-coating. But the end result is great. The van has more front protection, places to mount lights, and self-recovery ability. We can carry water or fuel on the back as well as our spare tire. This keeps a load off the roof reducing the center of gravity. Plus, let’s face it: it looks mean!
We’re looking forward to putting our newly customized van, the TBD Tractor, to the test. We’re raring to get out there and explore all the opportunities Mother Nature has to offer—Delica off-road bumpers and all.
Leave a Reply